About 18 months ago, my beloved 14 year old beast of a Beagle, Boots, died when he escaped onto our busy road. He was an escapologist, as are all beagles, with no road sense. It was bound to be bad. Anyway, he was going to die either by car or by slow, lingering death of old age. I buried him in the back yard.
After an approved period of mourning – about 6 months, I decided it was time to think about welcoming another fur baby into the house. We did our homework and in January of this year welcomed Poppy into our lives. Poppy is a Groodle. That is, she is a Golden Retriever/Poodle Cross. She is black.
I’m madly in love with Poppy, and she loves me. It’s magic. Anyway, the reason Boots our beagle had died was some idiot left the gate open and he escaped. I was determined not to let that happen again. So we planned and built several new fences in preparation for Poppy. She’s a very expensive dog. Our fence building project was finished in February this year, although painting continues.
Our builder was Chris Biancotti, and while he wasn’t hugely cheap, he was very patient with the crazy lady who kept changing her mind and he did a wonderful job. I had seen a fence he constructed just down the road and I admired his handiwork.
We started our fence adventure one day when we idly decided to remove the chain mail fence from the front yard. It immediately looked a lot better. But then we were left with some unsightly, ugly trees and bushes that were not doing all that well. We got the tree loppers in and they pulled out the lot, including one Ivory Curl tree that was really very pretty and doing a good job of protecting the eastern side of the verandah from radiant light from the ugly white Colorbond fence. I was not amused. And my neighbour on the other side, Christine, I think was secretly rather appalled that we had torn down all the lovely trees in the yard. Never mind that the trees were nearly all weeds or serious pests!
 It’s a desolate wasteland where beautiful greenery used to be!
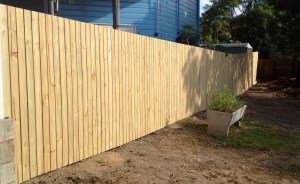
Then Chris began constructing the fences. We started with the side fence at the rear of the house. 20 metres of 6 foot high timber fence, and our neighbour was relatively happy with the result, tearing down all the ‘not quite working’ trellis from his yard and planning his back corner at last. It wasn’t too expensive, and we came to a good agreement about how the fence was to be constructed, and with what materials. Mind you, I had done my due diligence and we went for a cheap timber fence, and while our neighbour wasn’t too thrilled with the cost, I had done three quotes, and I was happy with the price. He was happy to pay the lowest of the three quotes: fine by me!
Then Chris got onto the side fences. I asked for and got gates that would always close, but the silly tree loppers (who came back) then wedged the gate open so wide that the spring Chris had installed to the gates loosened off. Chris also repaired the other neighbour’s side fence as there was a rather dangerous lean to it – not surprising, as there is so much water flowing through the back yard that it just rots the wood. Oh well. Reminder to repair them again in 10 years time, but this time with steel posts, not timber.
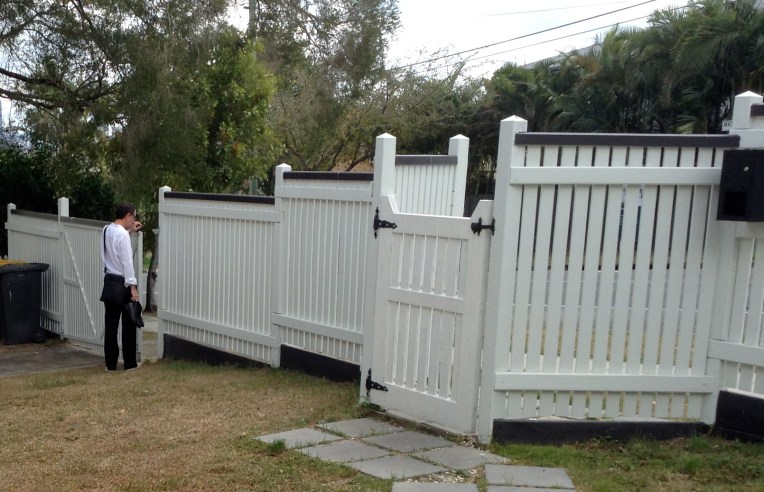
Finally, Chris constructed the front fence. We spent many happy hours driving around neighborhoods taking pictures of fences. Here are some that appealed. Our house is on a busy road and I wanted airy privacy for the front yard, yet a look that ensured a welcoming entry for visitors. Being a 1920s construction, our house needed something that had a similar but simple style, in keeping with the house’s simple bones. These are the fences I looked to for inspiration.
This last fence was extremely beautiful and we coveted it mightily, but when our builder popped round to have a chat to the owner about the cost, it was more than double our budget. Chris came up with a great solution. We decided to have a tiered fence, with sleepers at the bottom because it looks so sharp and neat. We finished off the sections with a simple bread loaf rail and posts that Chris honed to a simple point. Because of the 6 foot height of our fence we needed two rails, hence our preferred fence (see above) wasn’t doable for us as there are no rails behind the palings and the height of the fence is only about 1 metre.
We created a slight angled inset at the gate to provide a more welcoming entry point, given that our street is busy and tall, straight fences can look awfully forbidding:
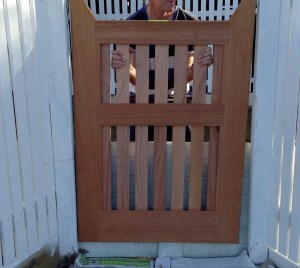
We had some difficulty over the gate. Originally we ordered a gate from Woodworkers in Moorooka that was wider than this opening, but that was before we cleared up a minor misunderstanding about the inset sections. And we couldn’t decide whether to have a higher or lower gate. We chose the latter, mainly to increase that welcoming feeling I was talking about:
From a distance it initially looked too low and a little narrow, and we were very disappointed:
But over time and with a lick of undercoat the gate has blended into the fence line. We had two gates: one was for the garage section. Chris constructed a steel frame and attached a spring wheel to the base, to give it purchase when open:
In a few years when we replace the garage door, we’ll make this gate automatic. Not right now, though, because that would mean rewiring the whole house. And goodness knows how much THAT will cost!
Finally, we had to choose the letterbox. We looked at various option including this ornate one:
 But we finally chose this simple, stylish black mail box, from a locally owned store literally down the road:
The first topcoat of the front fence is finished and it already looks a treat, but silly me thought that painting faux oil paint just before the dew point at dusk was a good idea, and the bloody paint dripped. It’s only the first top coat, though. Phew. I can sand and do another coat. We applied 2 coats of Dulux all-in-one oil primer/undercoat, then for the top coat we used Haymes paints in Dulux colours. We have to get more paint, but there’s LOTS more to do before the second top coat goes on.
And as I said to hubby just recently, the lovely lovely new fence looks like fresh bunting on a tired old used car saleyard, but once we paint the house exterior it will look wonderful! For the palings we chose the shade Surf Mist by Colorbond on the advice of our builder Chris, as our gutters are that colour, as is the Colorbond fence at the left. Surf Mist isn’t completely white, but is still bright and clean and hides road dust well. For the top rail and bottom sleepers we chose Wayward Grey by Dulux, because it’s sometimes black, sometimes grey, sometimes a little bit brown or purple or even burgundy. A great colour. We’ve not yet decided on the post colours, but we want a fawn/grey colour to give a bit more sophistication to the fence. In the meantime, though, they’ve been painted Surf Mist too.
I’m super happy with how the fence turned out, and very happy with our builder, Chris Biancotti.
I guess this means the house palings will be Surf Mist and the house trim Wayward Grey. Not sure about the windows at the moment though.
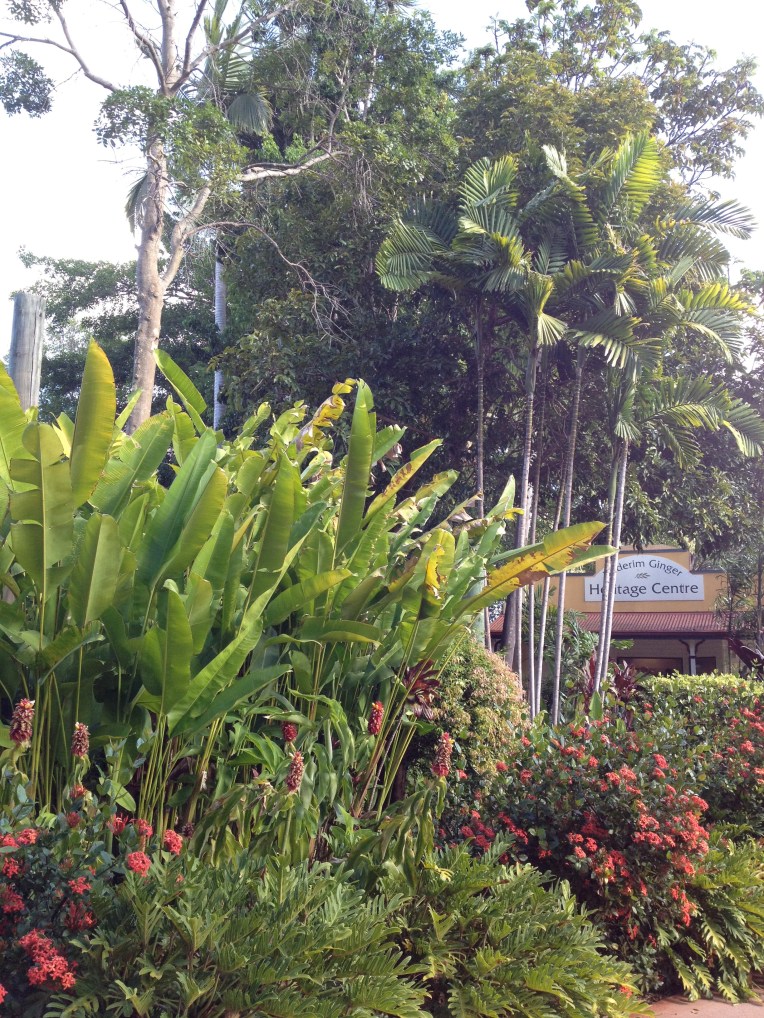
Once the second coat has been finished, we can plan and commence our front yard planting. I’m thinking a white or pink Frangipani should go in this corner, and the whole front to be lined either with golden cane palms, Giant Strelitzia or mock orange hedging bushes to provide a sound and sight barrier to the street. Then we’ll plan the remaining garden bed with some ginger and bromeliads, a little bit like this garden bed we saw at Buderim Ginger factory but without the monstera plants, which grow out of control in home gardens:
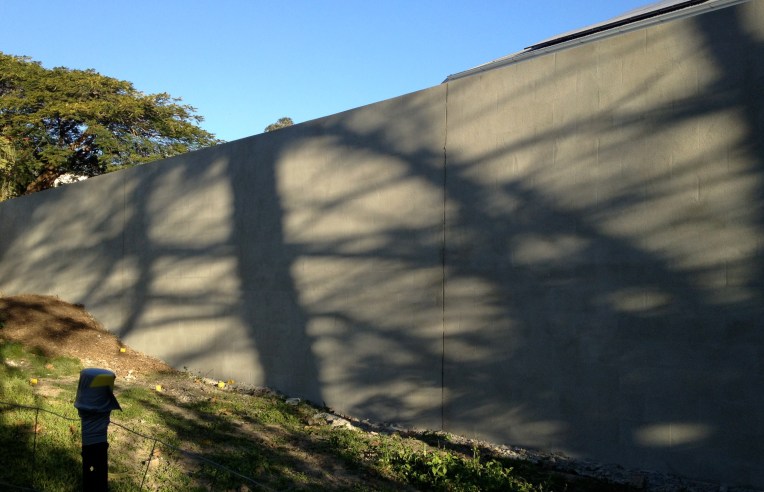
But wait, I nearly forgot to show you the back fence! Our lovely neighbour, who I will call Sheila, has been renovating her house. She informed us she was taking down the lovely but dilapidated timber fence at the rear and building a retaining wall out of bessa brick (cinder blocks), against which her pool would sit. Well. I didn’t mind, but when I saw the height of the fence, I gulped:
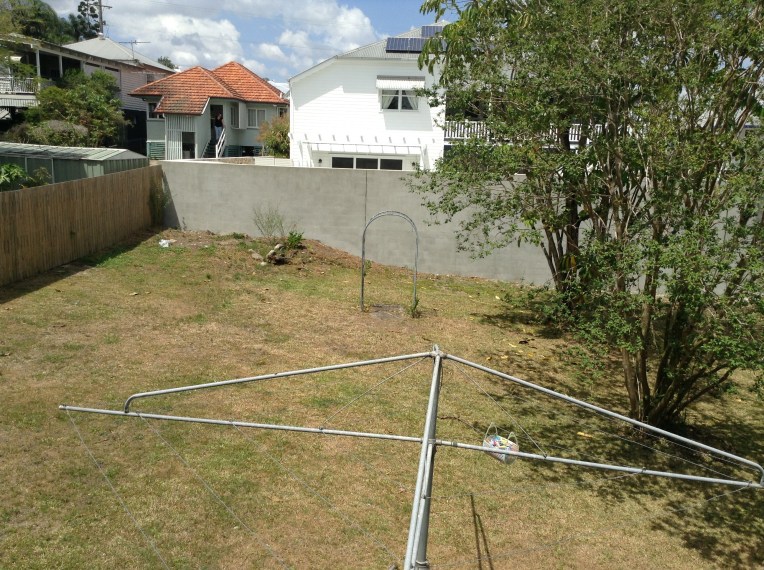
It’s about 1.8 metres high at one end, and at least 3.5 metres high at the other. I felt rather hemmed in at first, but Sheila kindly had the wall rendered and in a few months we’ll paint it a deep purply/black colour prior to planting out with tropical hedging plants such as Golden Cane and other palms. She also asked if she could remove the last remaining (ugly and stupid) tree – a pinus radiata – from our back fence line, because its needles would fall in her pool. No wokkas, quoth I, please, take the thing. She removed it.
Now our yard looks like this:
It’s desolate and sad, and nothing like how it used to look:
We still have problems with Chinese Elm popping up everywhere, but eventually it will give up and go away as long as we keep poisoning it!. Then, after all the renovations have been completed we will plan our lovely, tropical-style easy-care garden.
