More to come…

Our little housie is about to get a nice big new plan for an update, and hopefully the bank will give us lots of money to do it!

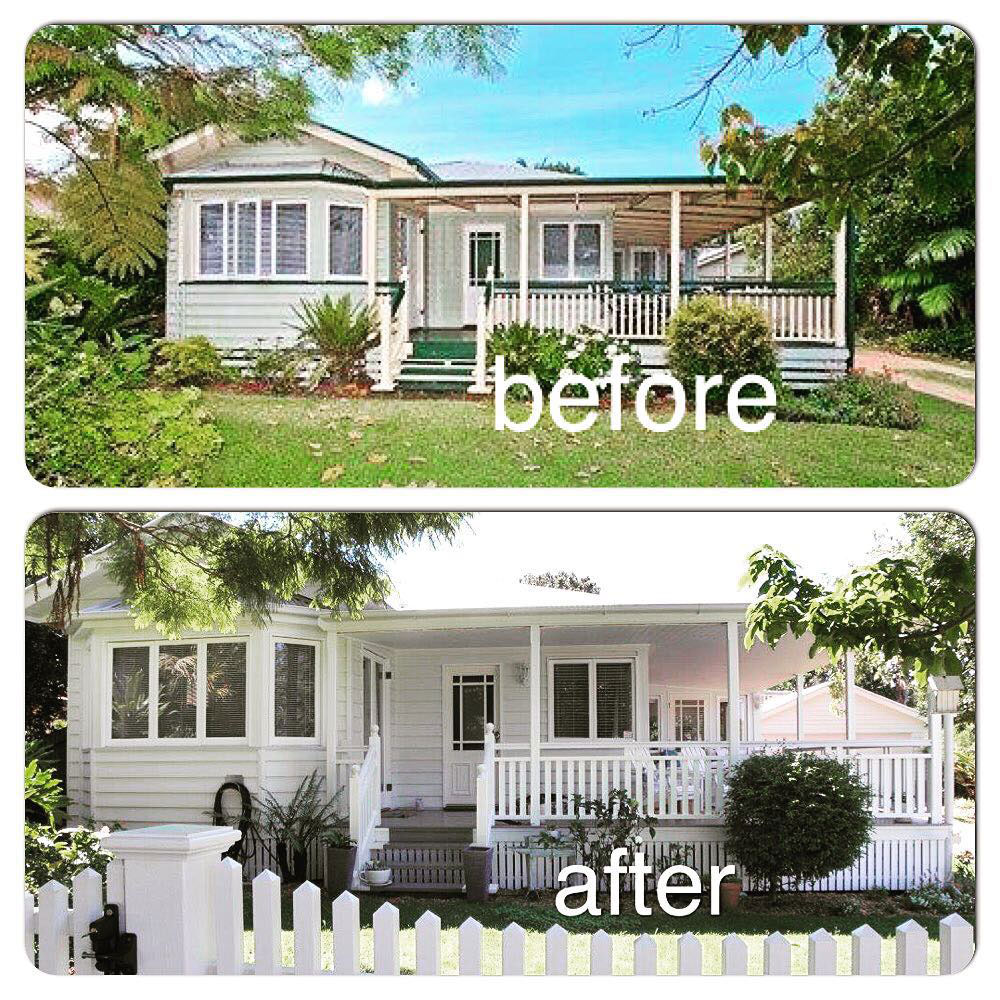
Since we bought our house in July 2020 (yes I know, in the middle of a pandemic, but no time like the present, hey!), Australian house prices have literally gone bonkers, and our house is now worth 20% more on the real estate market (possibly more because we live on a fantastic street) than a year ago. Not that we want to sell, OH NO.

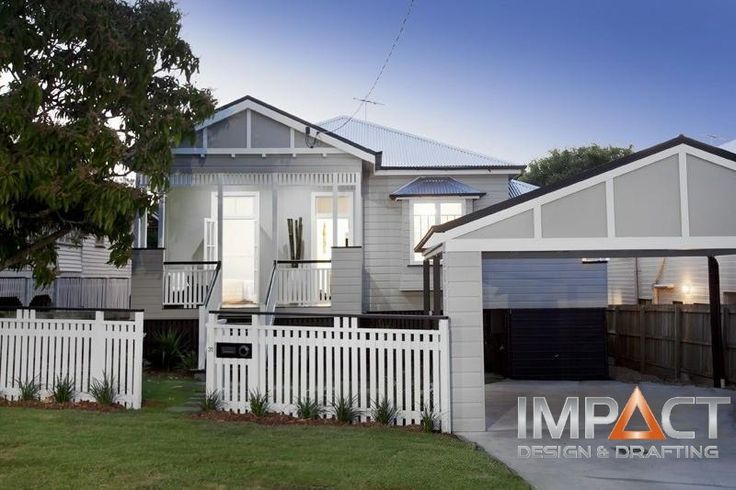
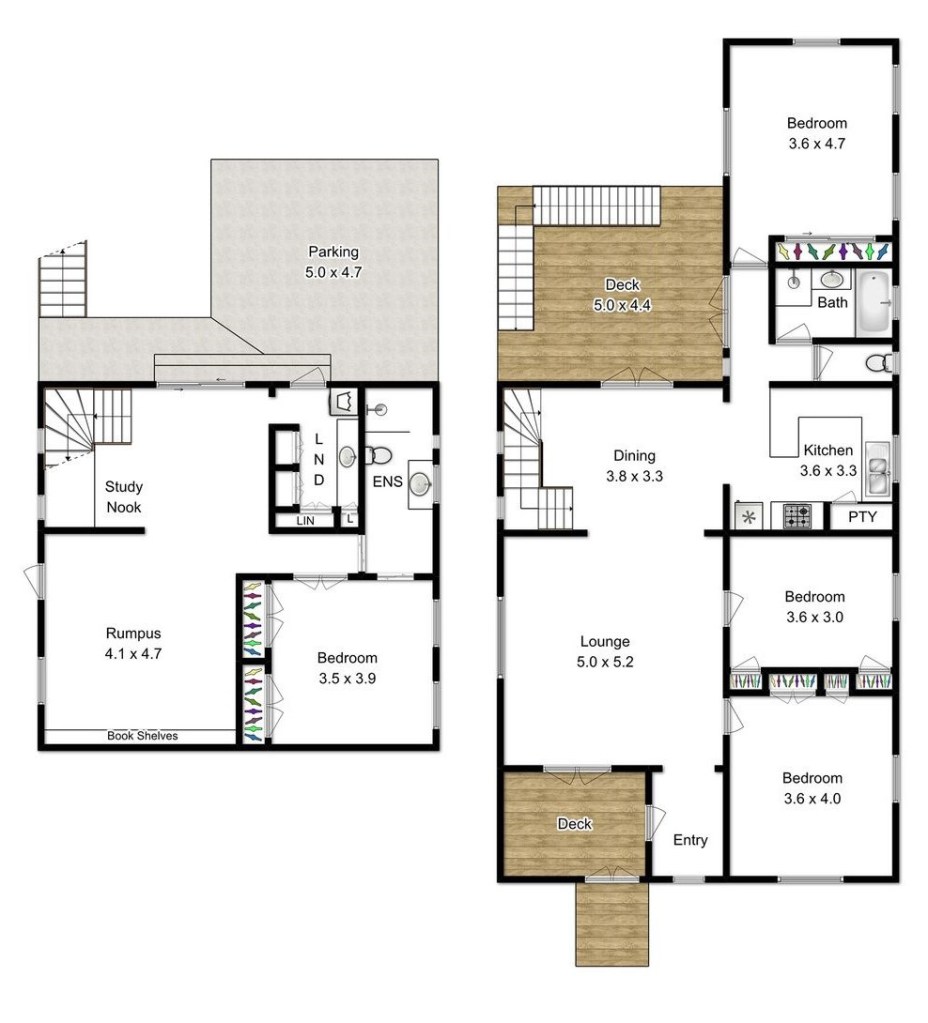
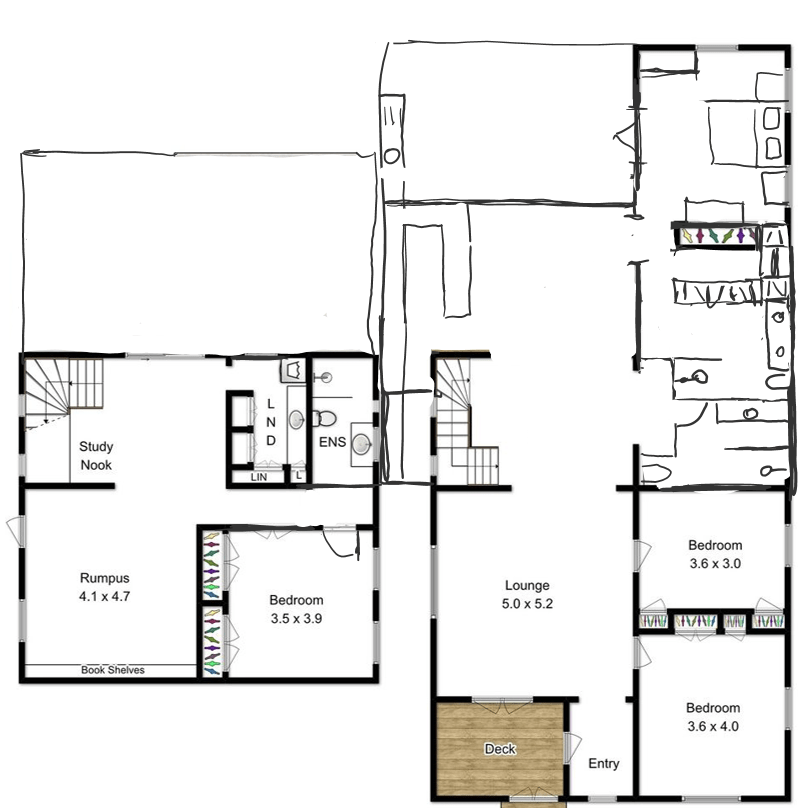
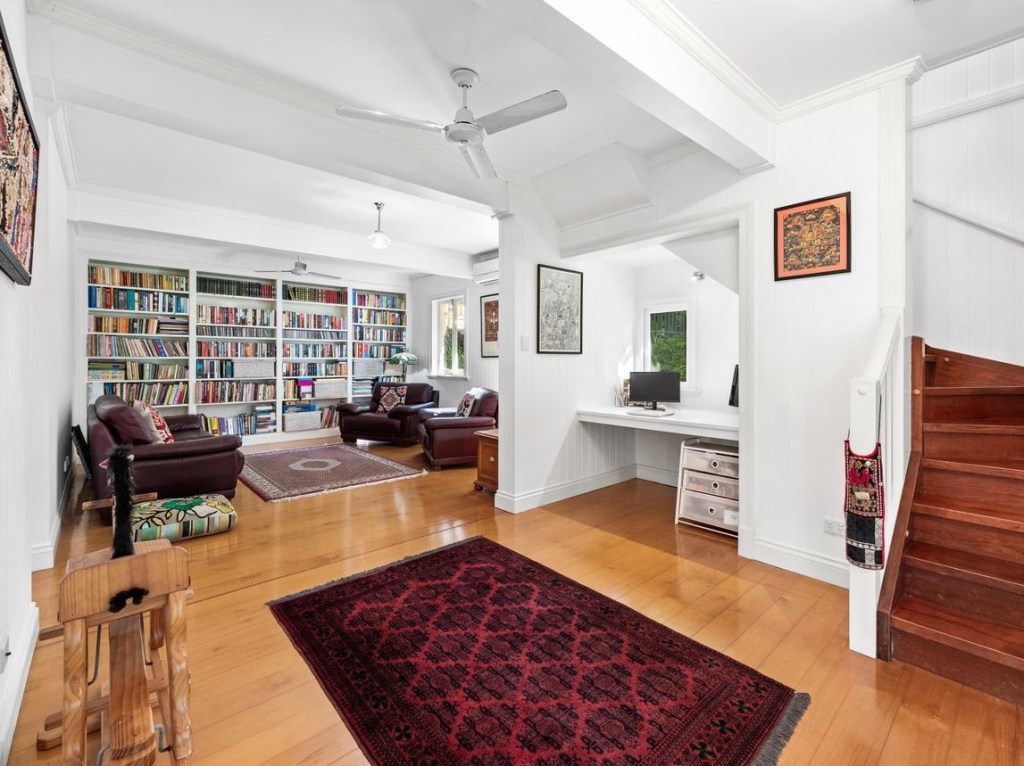
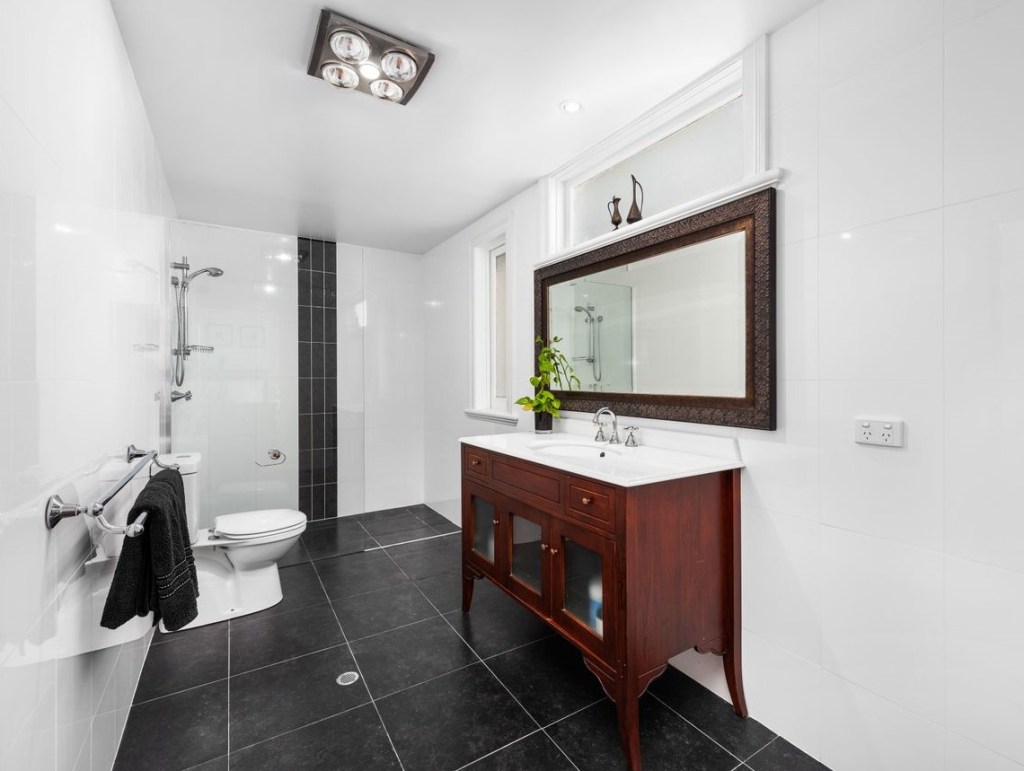
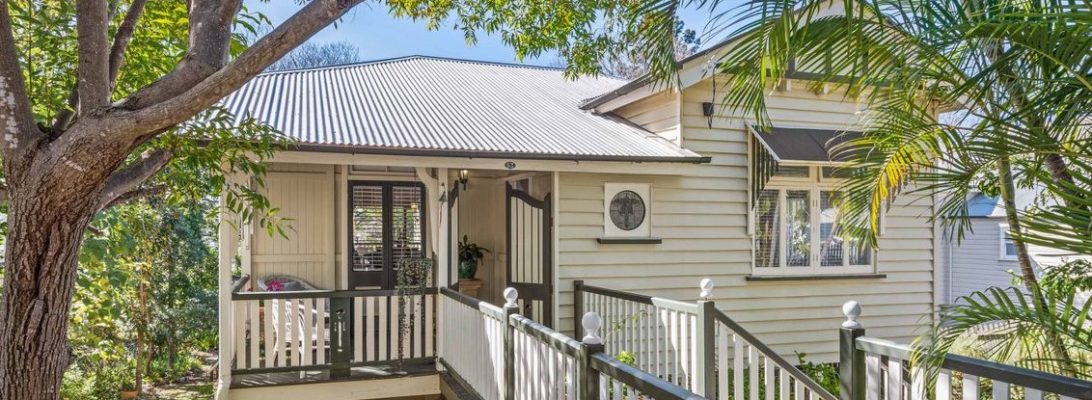
So last post – was it three months ago? Feels like forever – I was talking about extending our bathroom and kitchen just a soupçon and squeezing in a bit more space for a better bathroom and maybe a better wardrobe. Truth be told, my fave builder of all time Rachael said adding only a few metres’ space was a big cost for minimal benefit. So I said “well let’s go big, then”. What we want to do is update our house with a new lockable garage, she-shed, brand new WIR and ensuite in the main bedroom, new family bathroom and new kitchen, new back deck and new lower deck. Go hard or go home, I say.

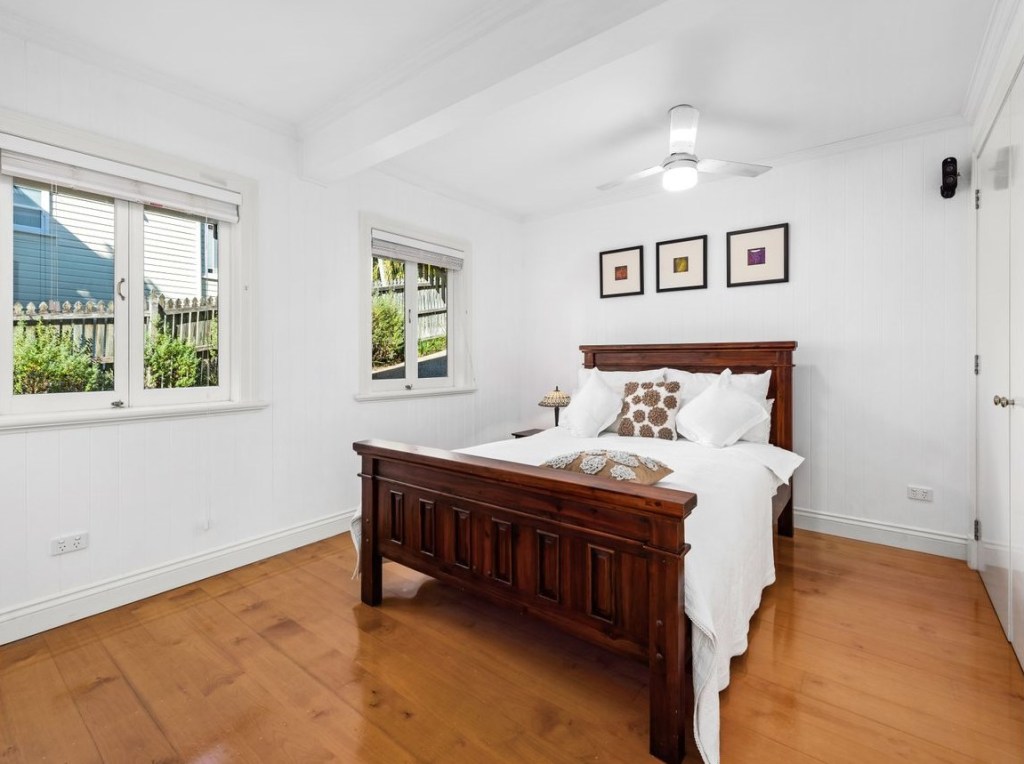
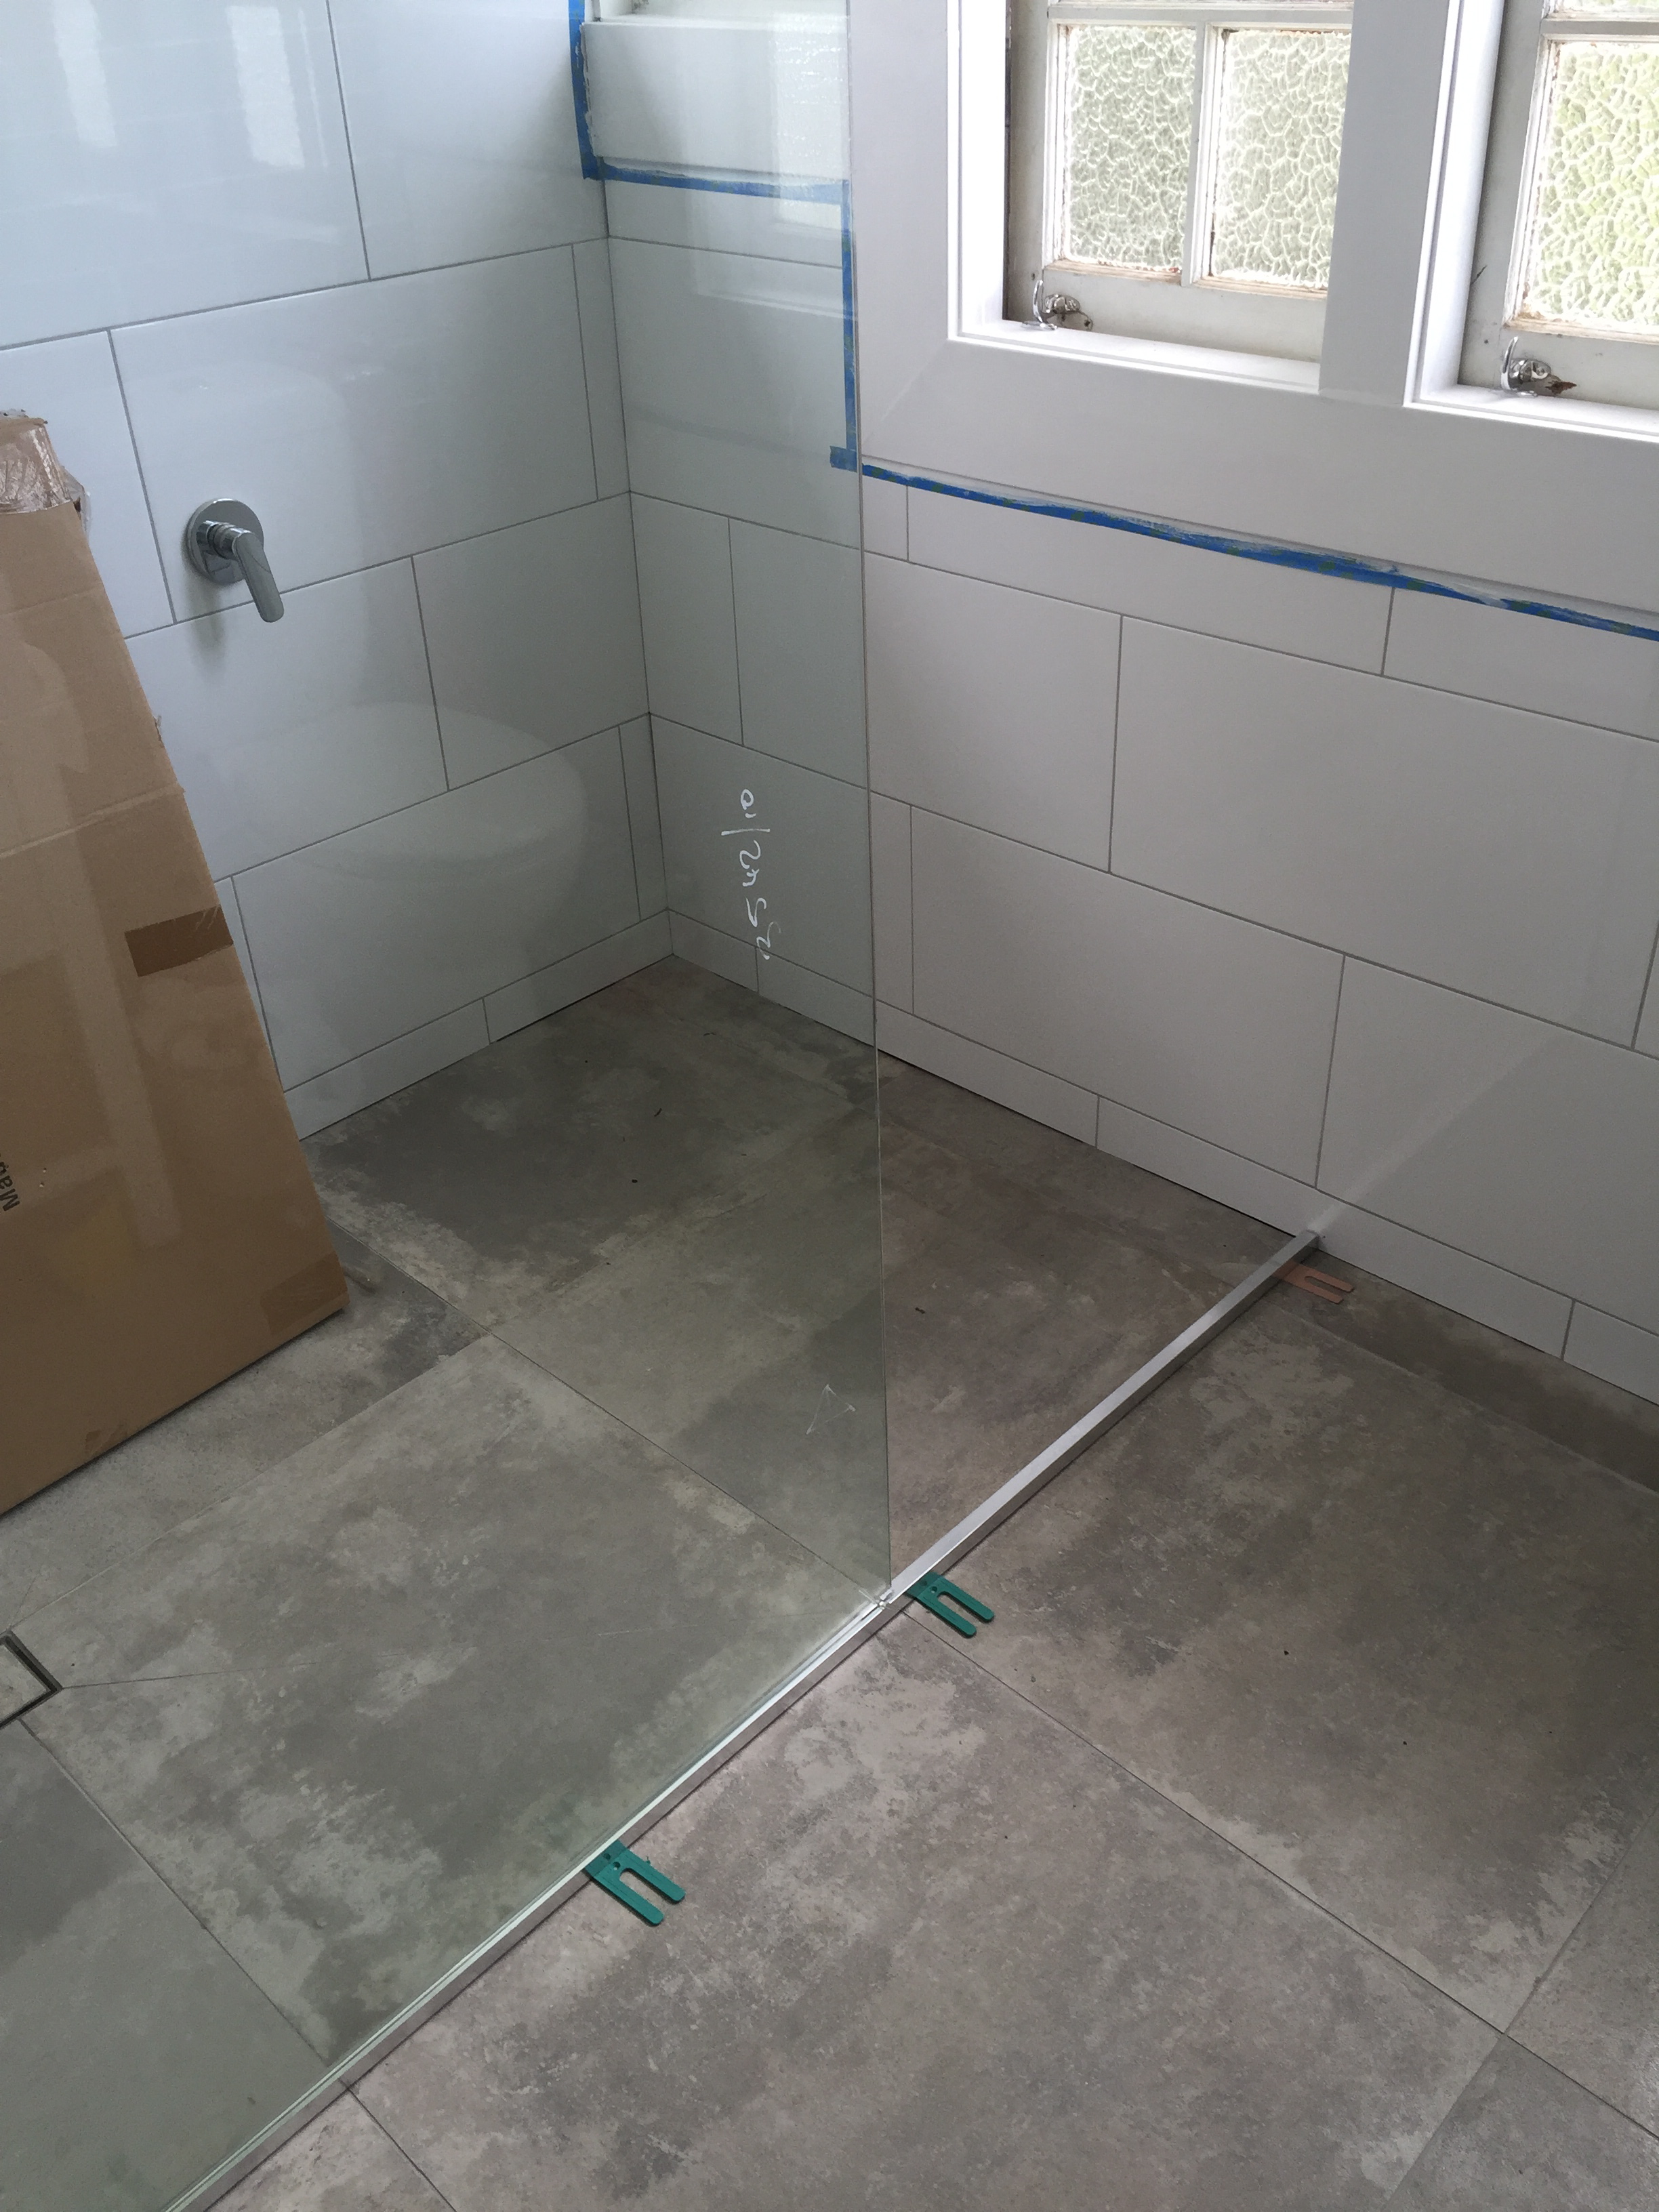
This house needs a lockable garage, particularly for when there are hailstone storms – more common than you think, here in SE Qld. Our rather exxie car needs to be protected from the weather; the possum poop; bird poop, and bat poop. I had a subsequent brilliant plan to build a new ensuite and WIR on top of the garage, thus protecting us from our neighbours’ noisy entertainment deck in the summer, and adding vital real estate to the main bedroom. My builder loved it, because she gets to build new and there are minimal changes inside the house that need addressing, new wet zones notwithstanding.

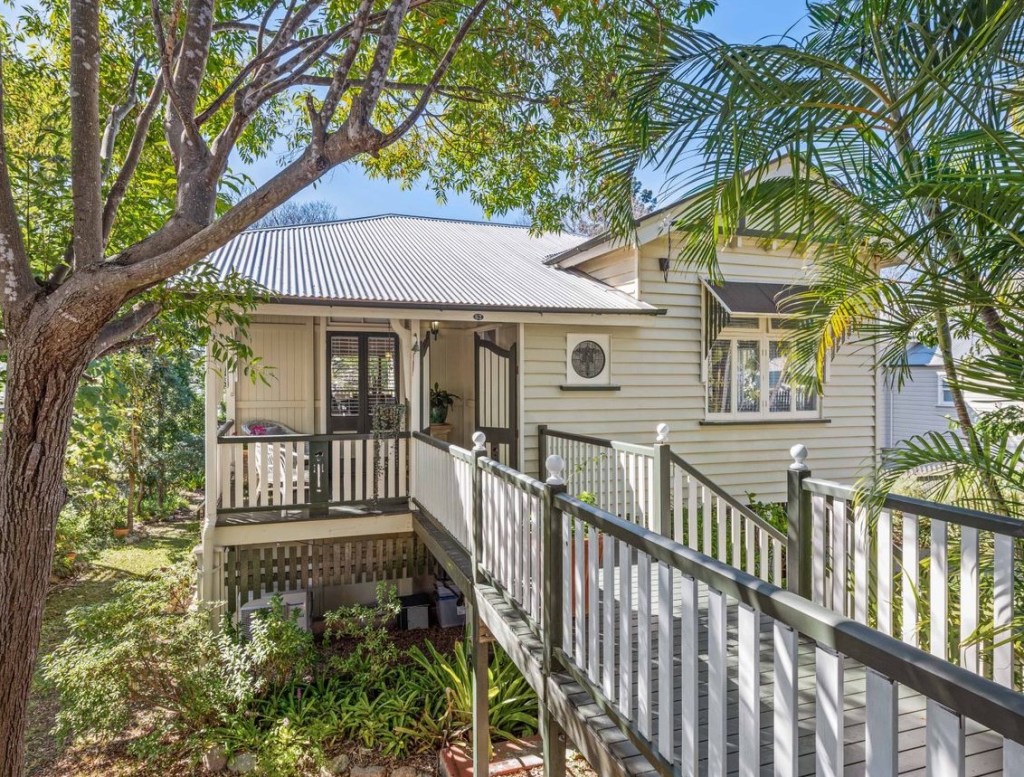
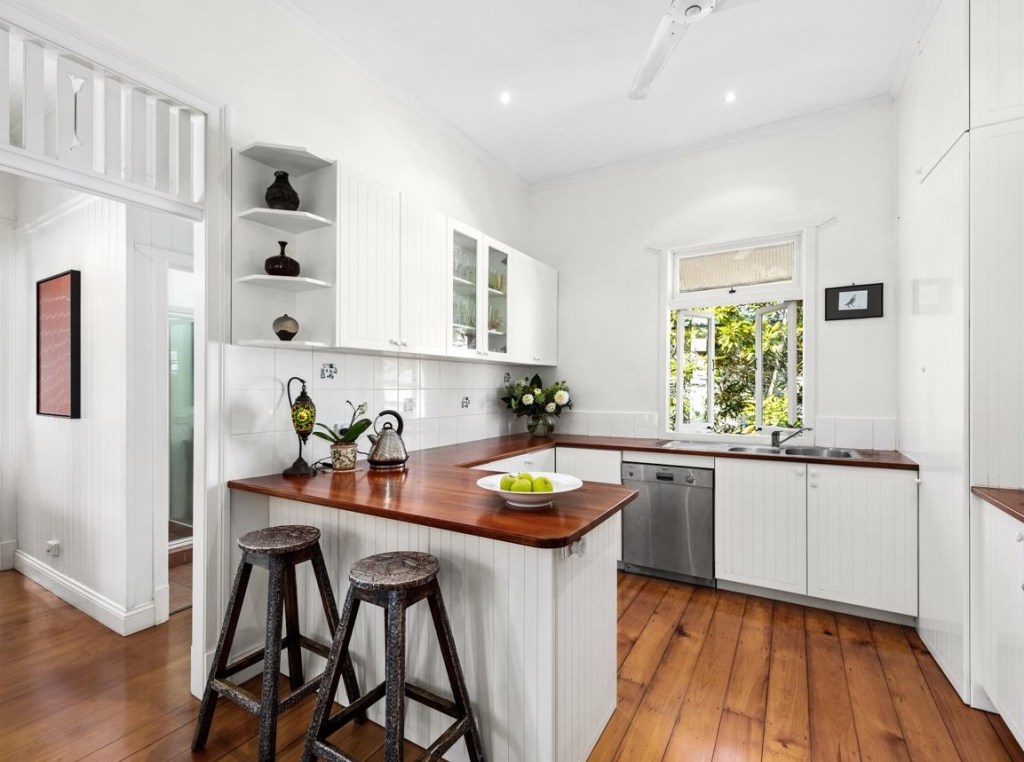
We can then incorporate the toilet into the renovated family bathroom, and crib more space for the kitchen, which will be fully gutted and replaced. YAS KWEEN. We will also tear off the old back deck and add a brand new deck that extends all the way to the end of the main bedroom. It won’t have an external set of stairs as there’s already stairs inside the house, which means it will be a tad more secure. The deck will be super simple, 5 metres by 9 metres with a gable pitched roof and lots of insulation so that we can enjoy it all year round and entertain out there. The main bedroom will have French doors onto the deck. My idea of heaven!

Downstairs the fun continues in a cunning way recommended by my landscape gardener. She suggested constructing a deck over all the higgledy-piggledy concrete (concrete that’s beautifully formed, though – it’s not old, just a series of odd design decisions). Magic. The deck will be about 5 metres deep and the width of the house, with a step-down each side to the new garage and the north-facing garden. In front of the deck there will be an under-deck garden of ferns and plants that need only filtered sunlight, which will also provide an extra layer of privacy for the downstairs area. This means that for minimal invasion into the main house, we get a lot more utility value out of the house and greater liveability overall, and we add square footage without going overboard with the bedroom numbers.

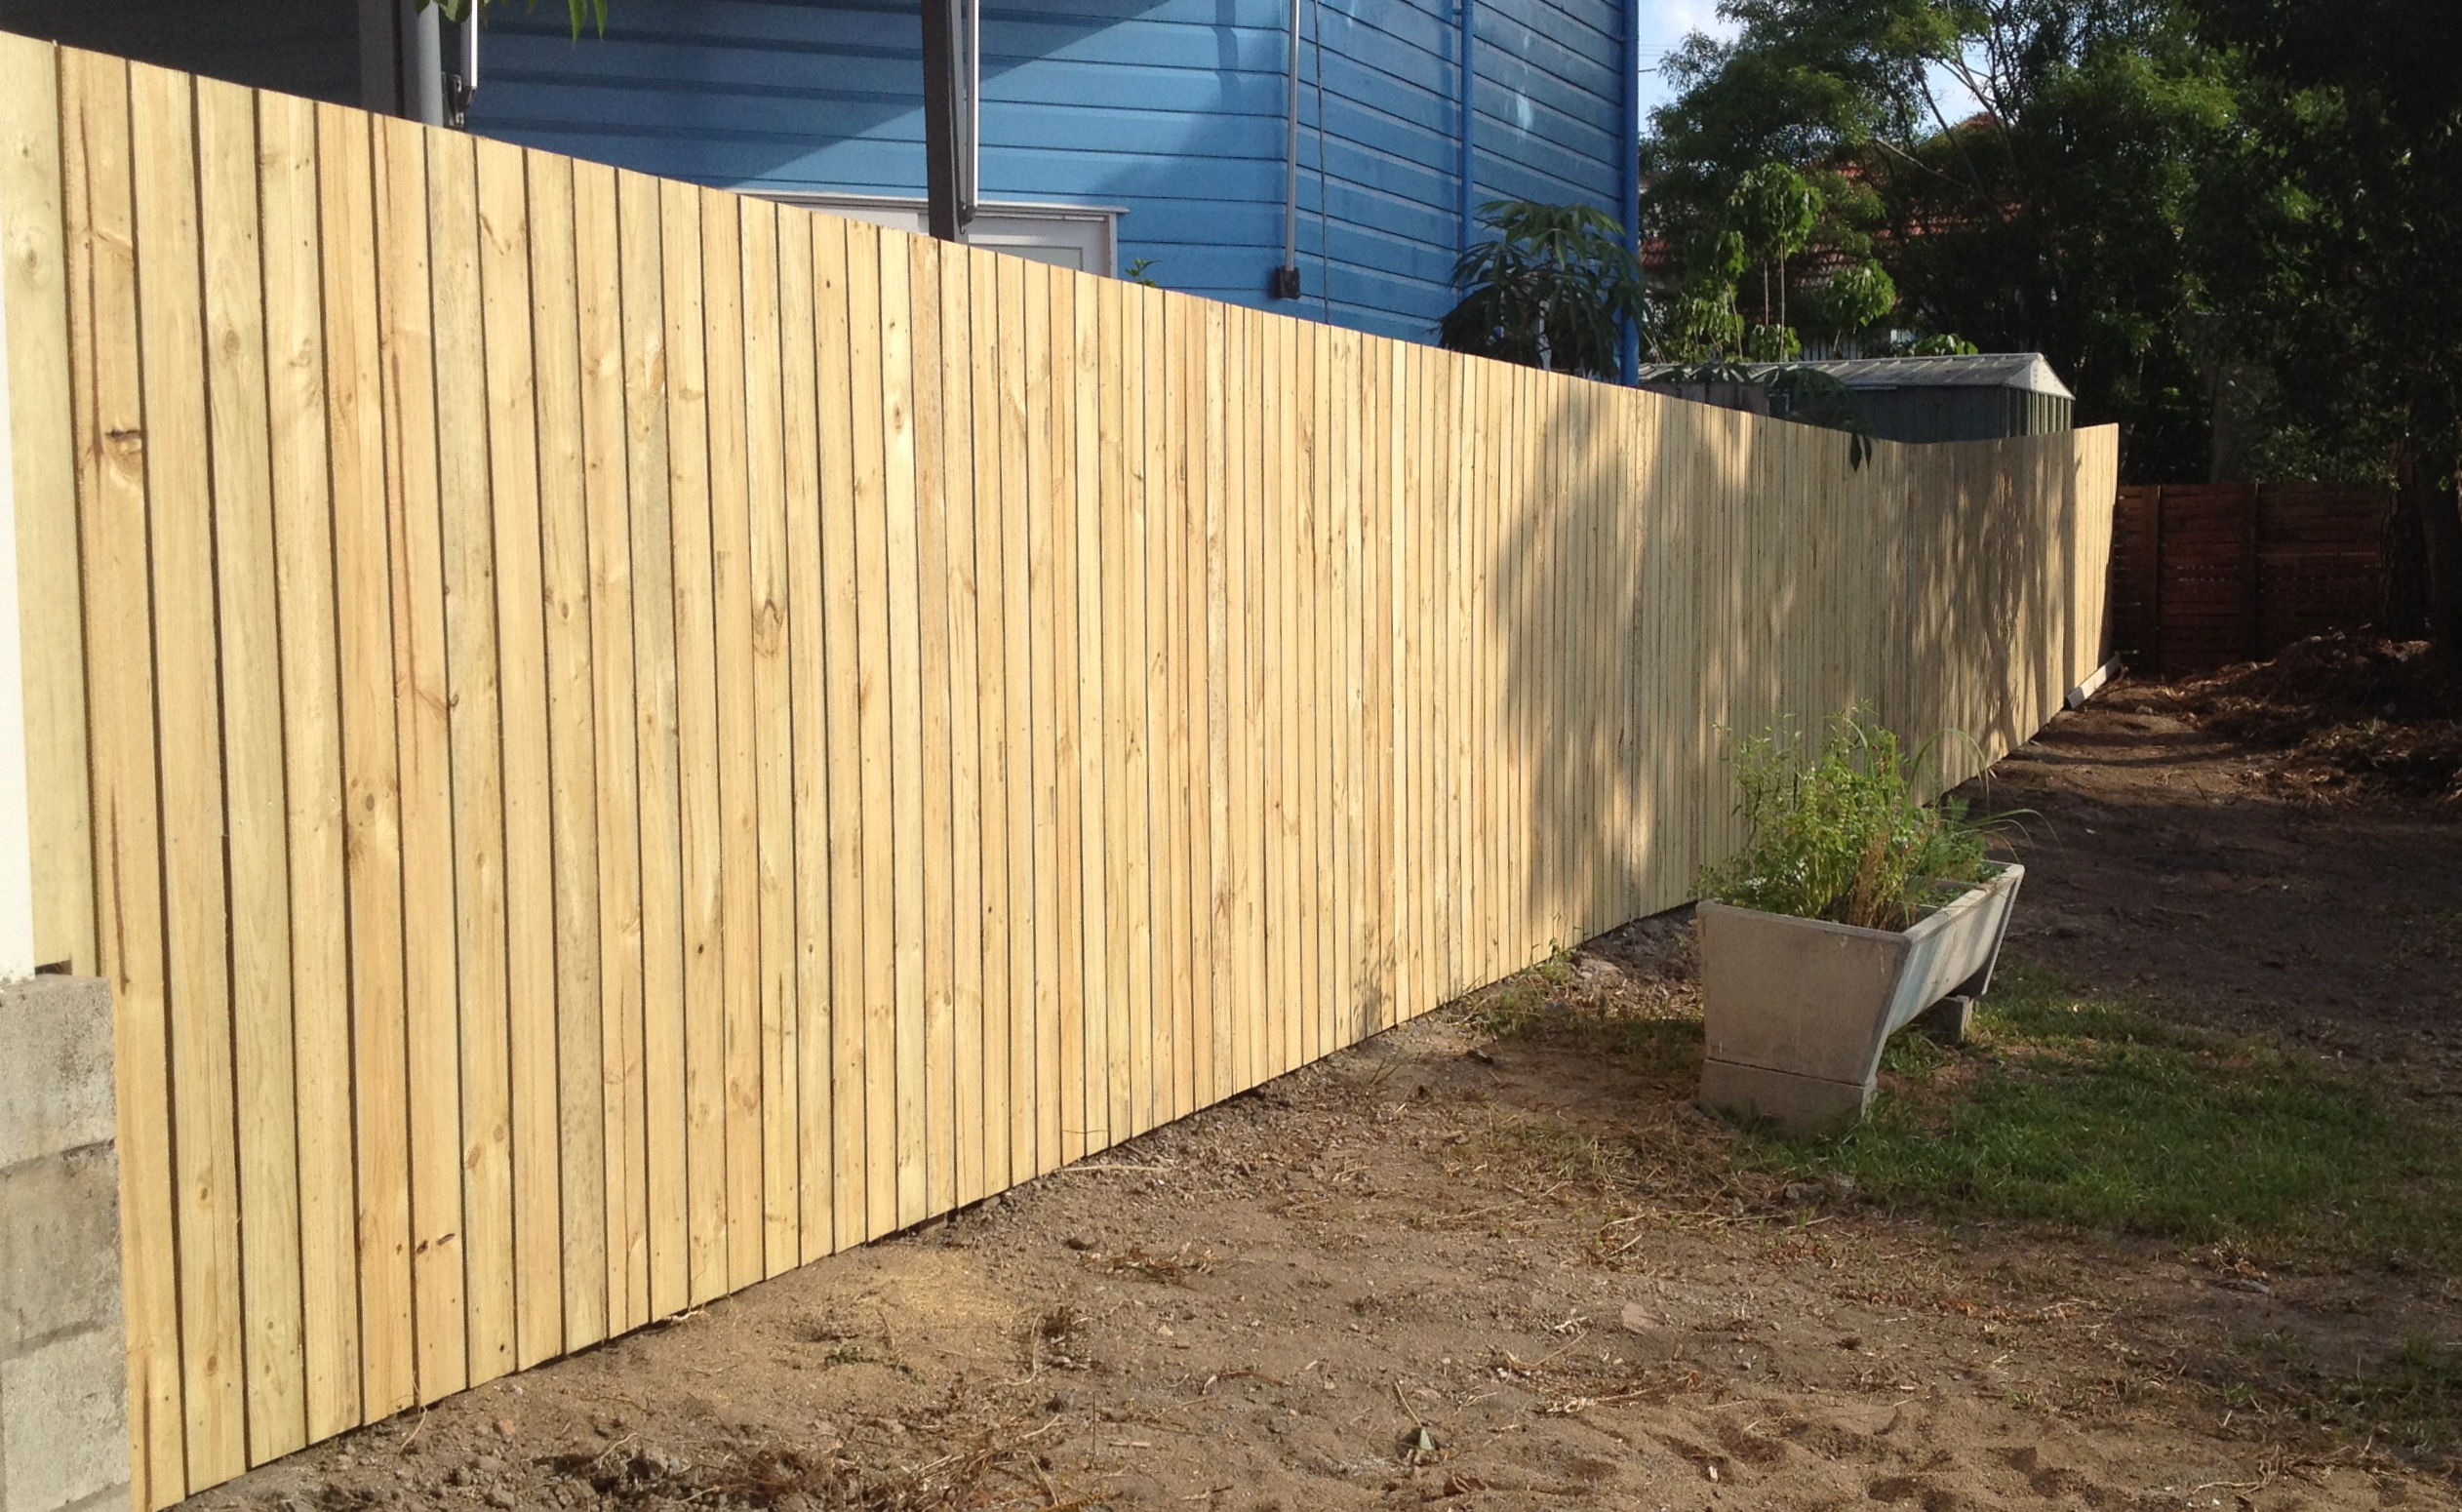
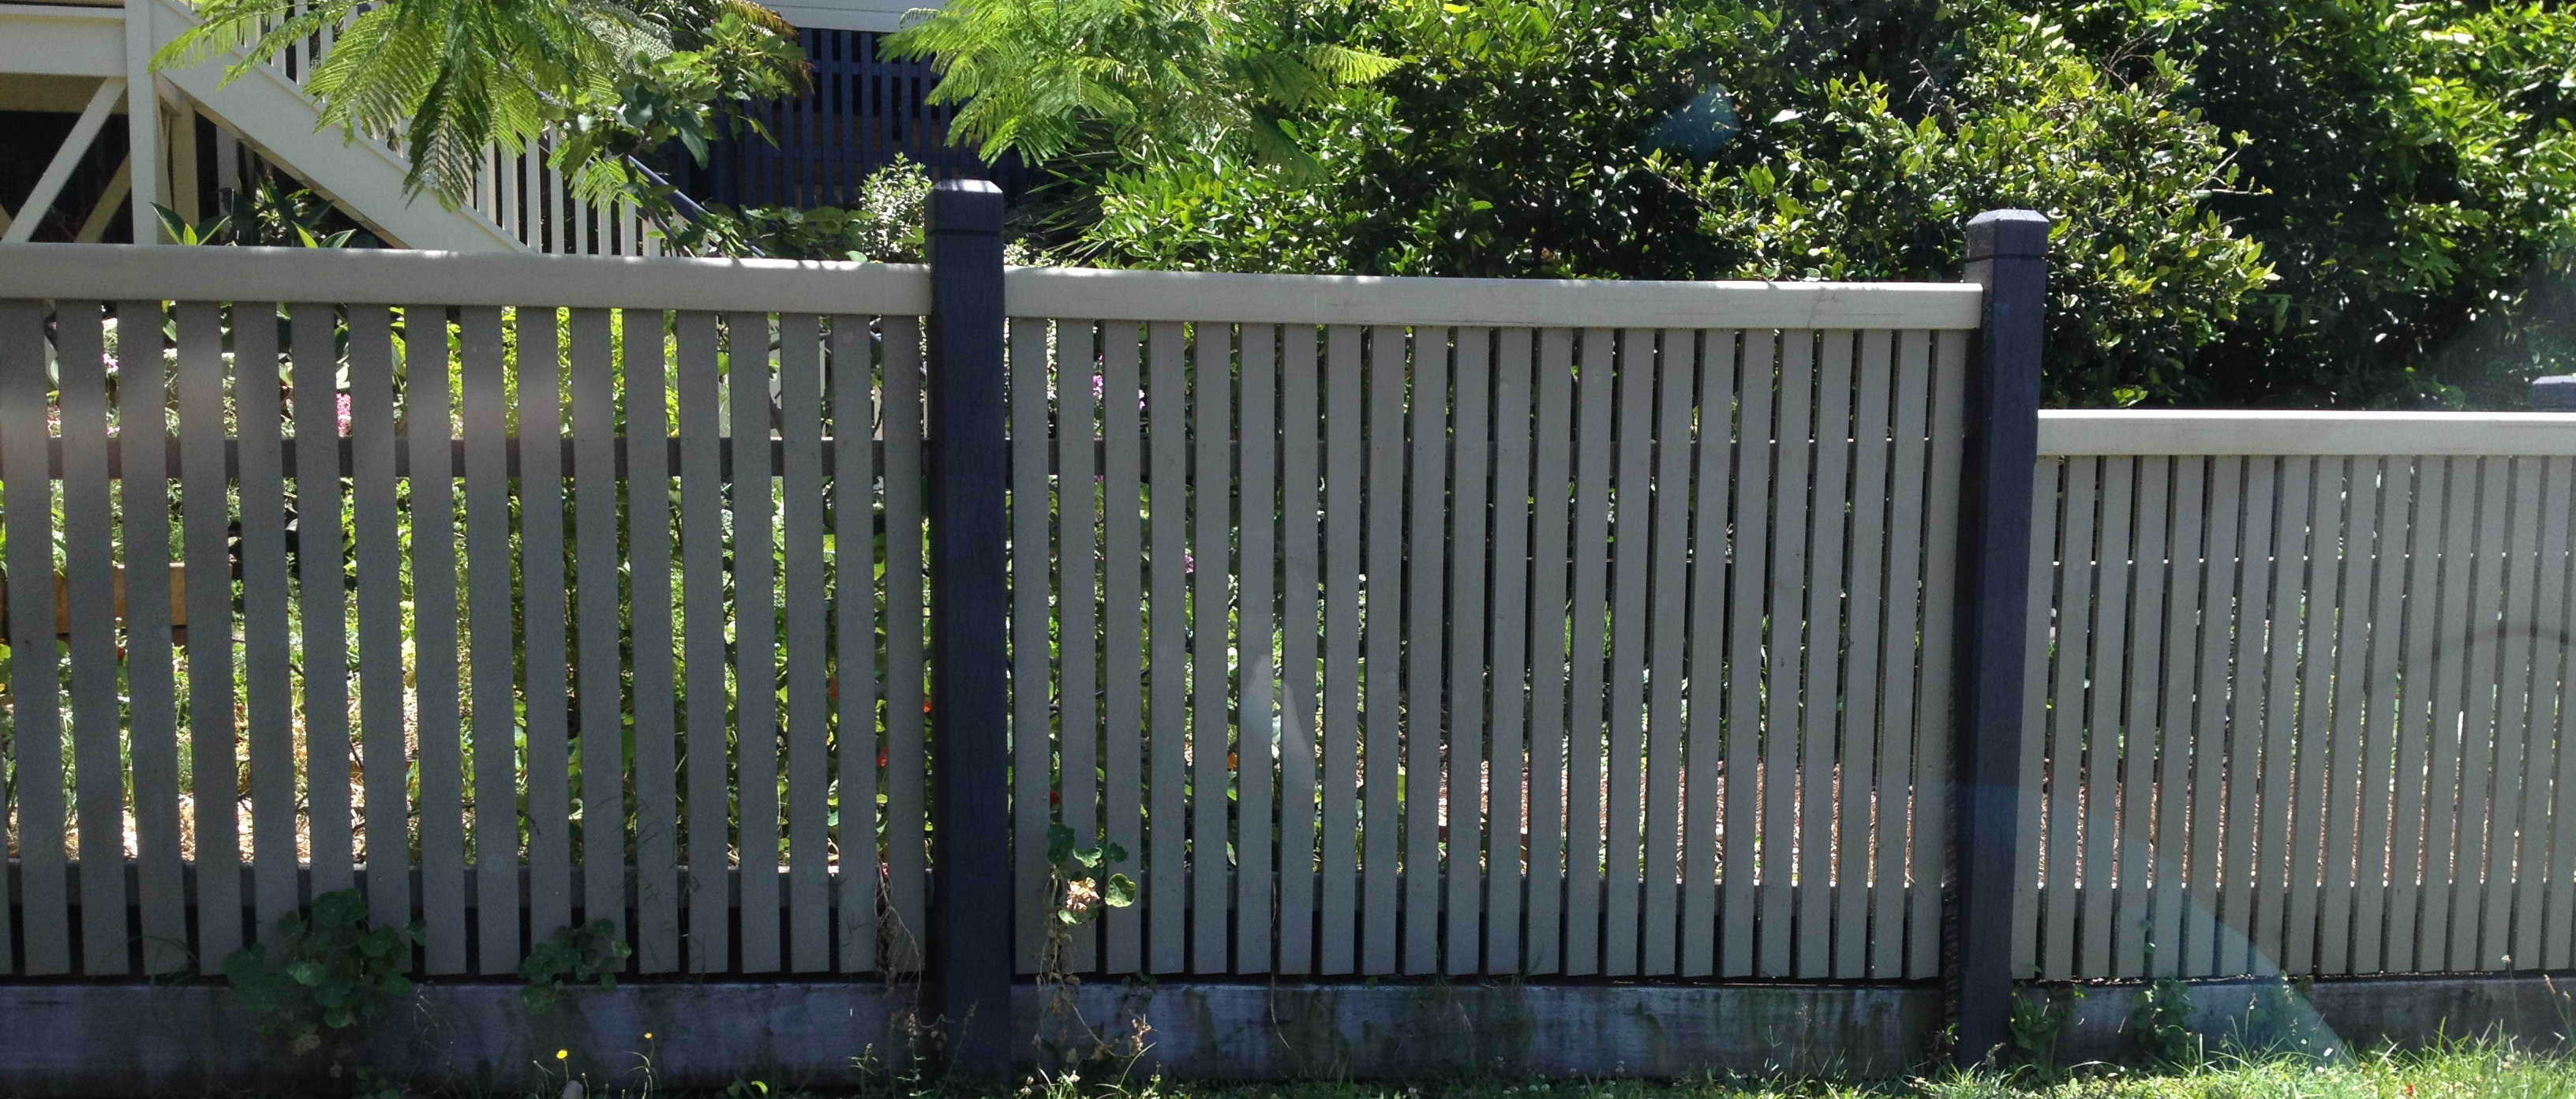
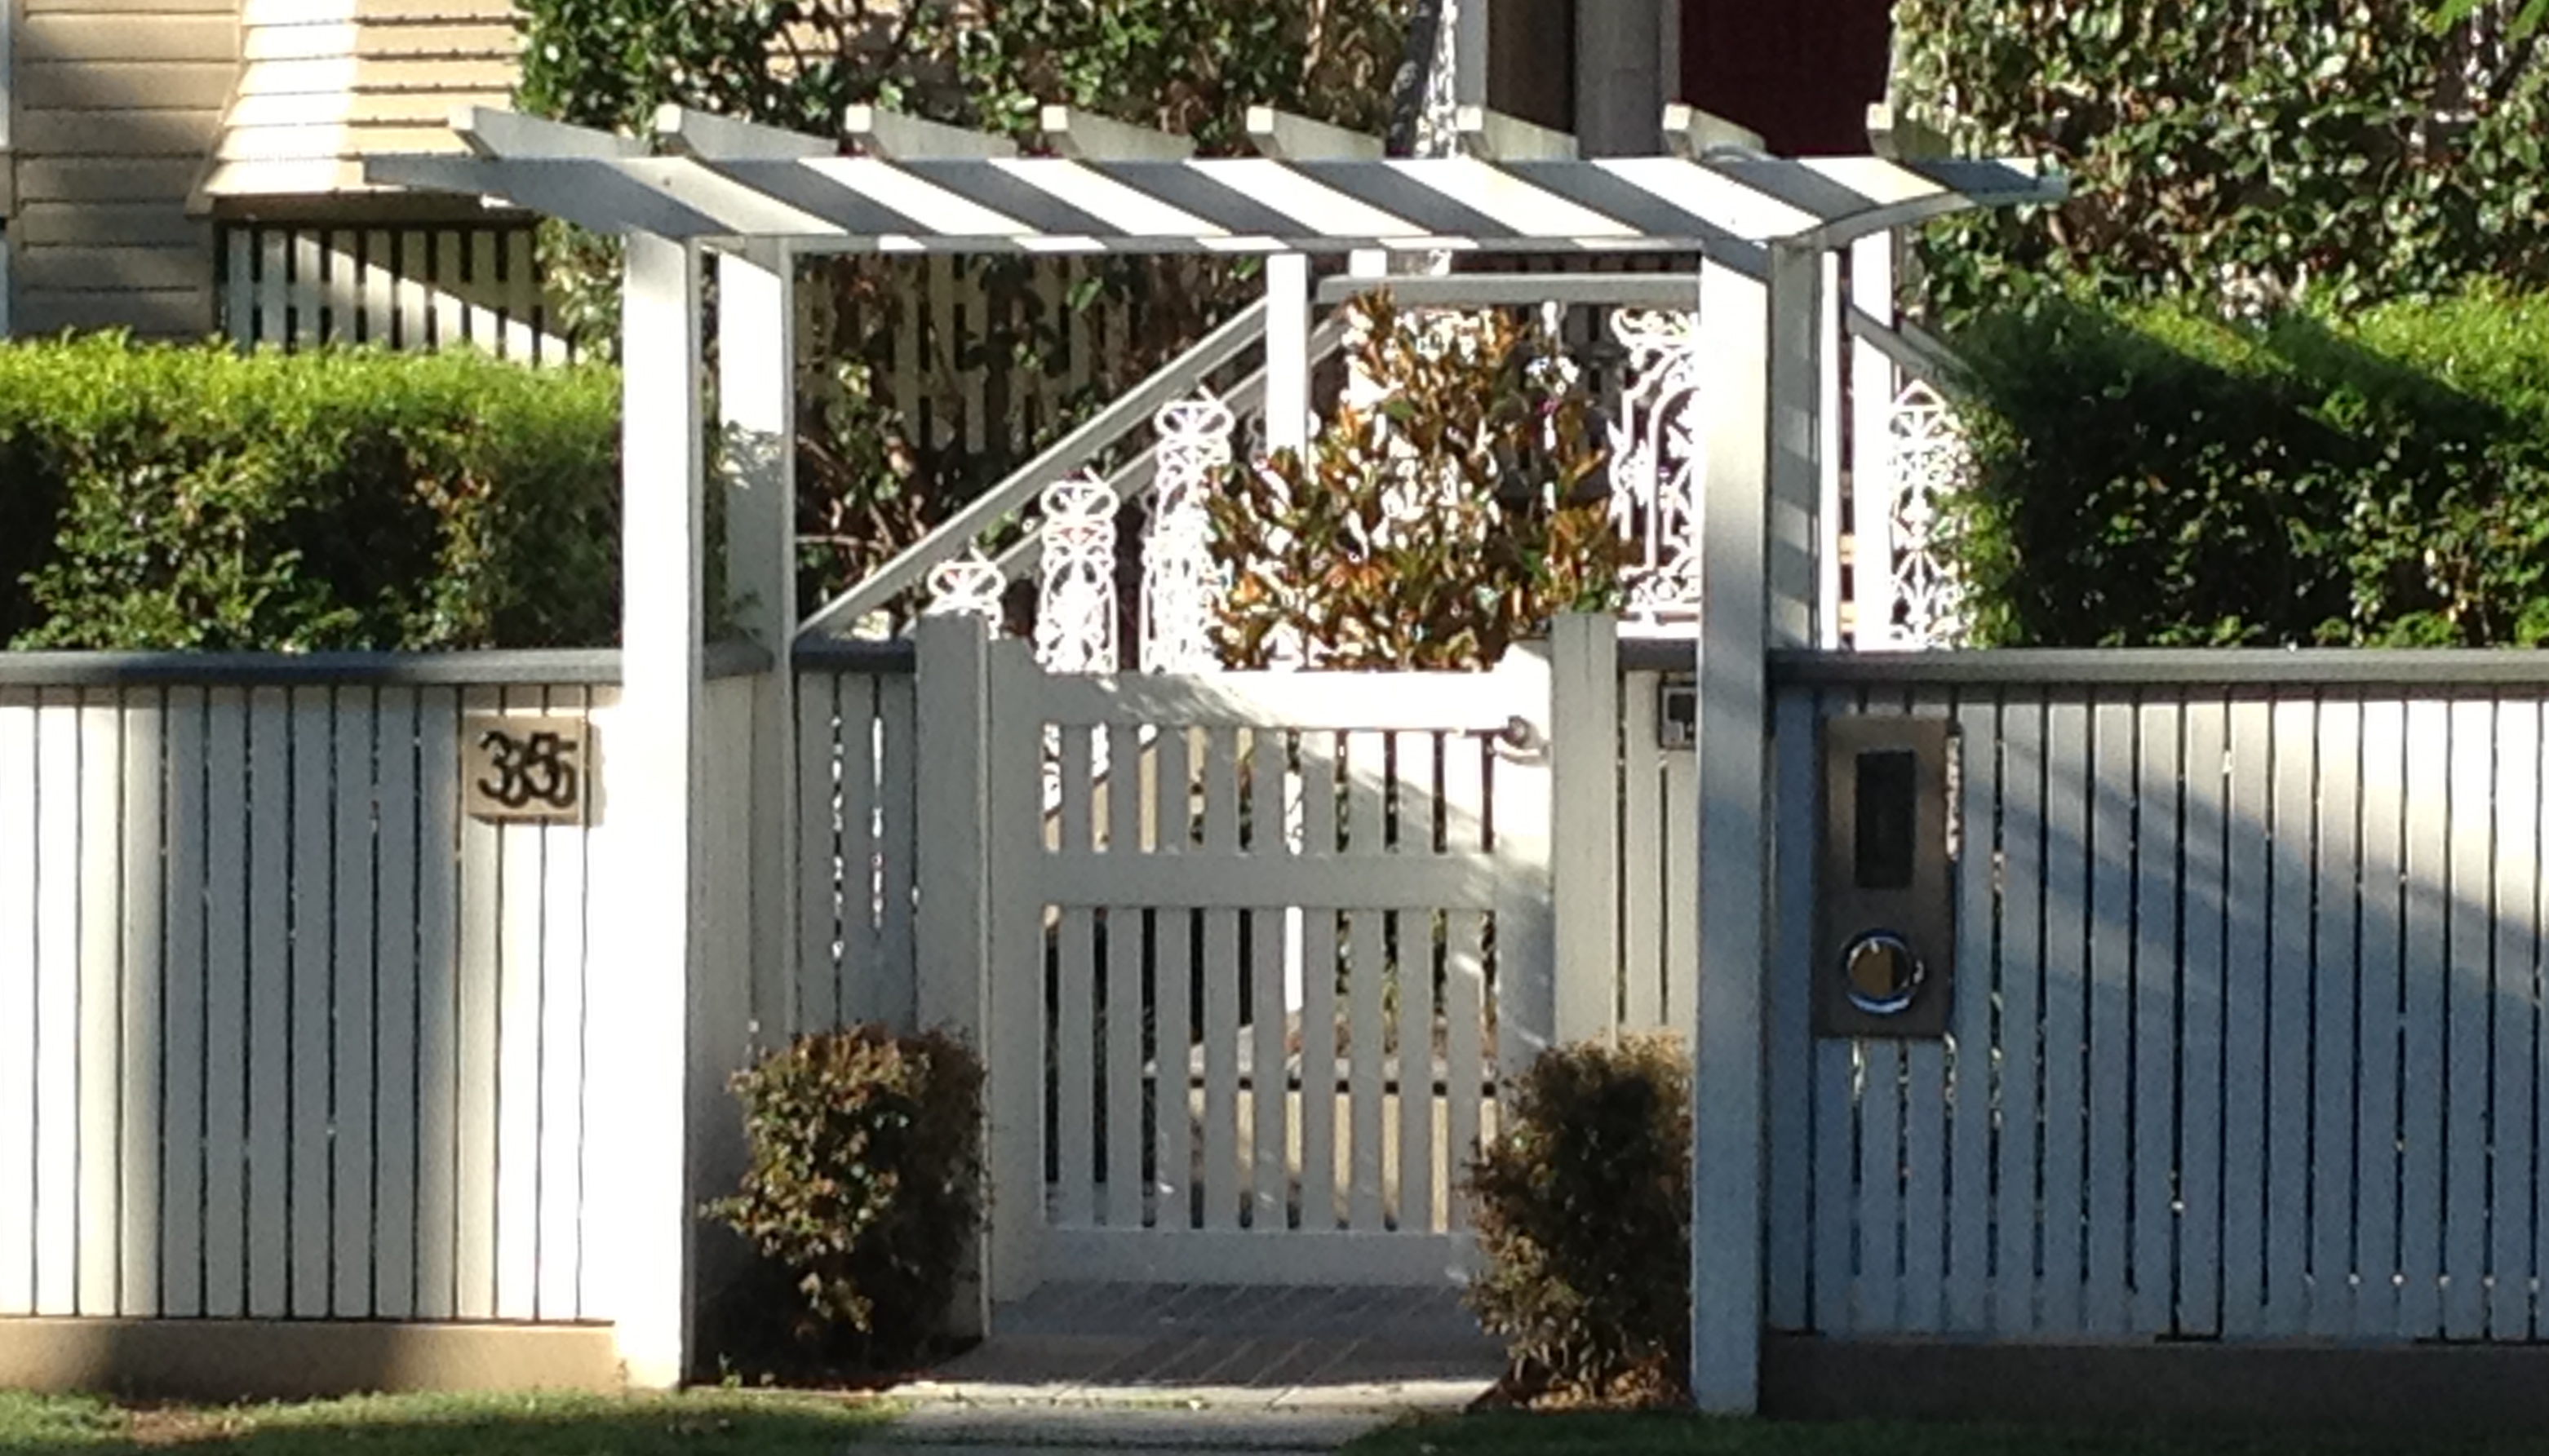
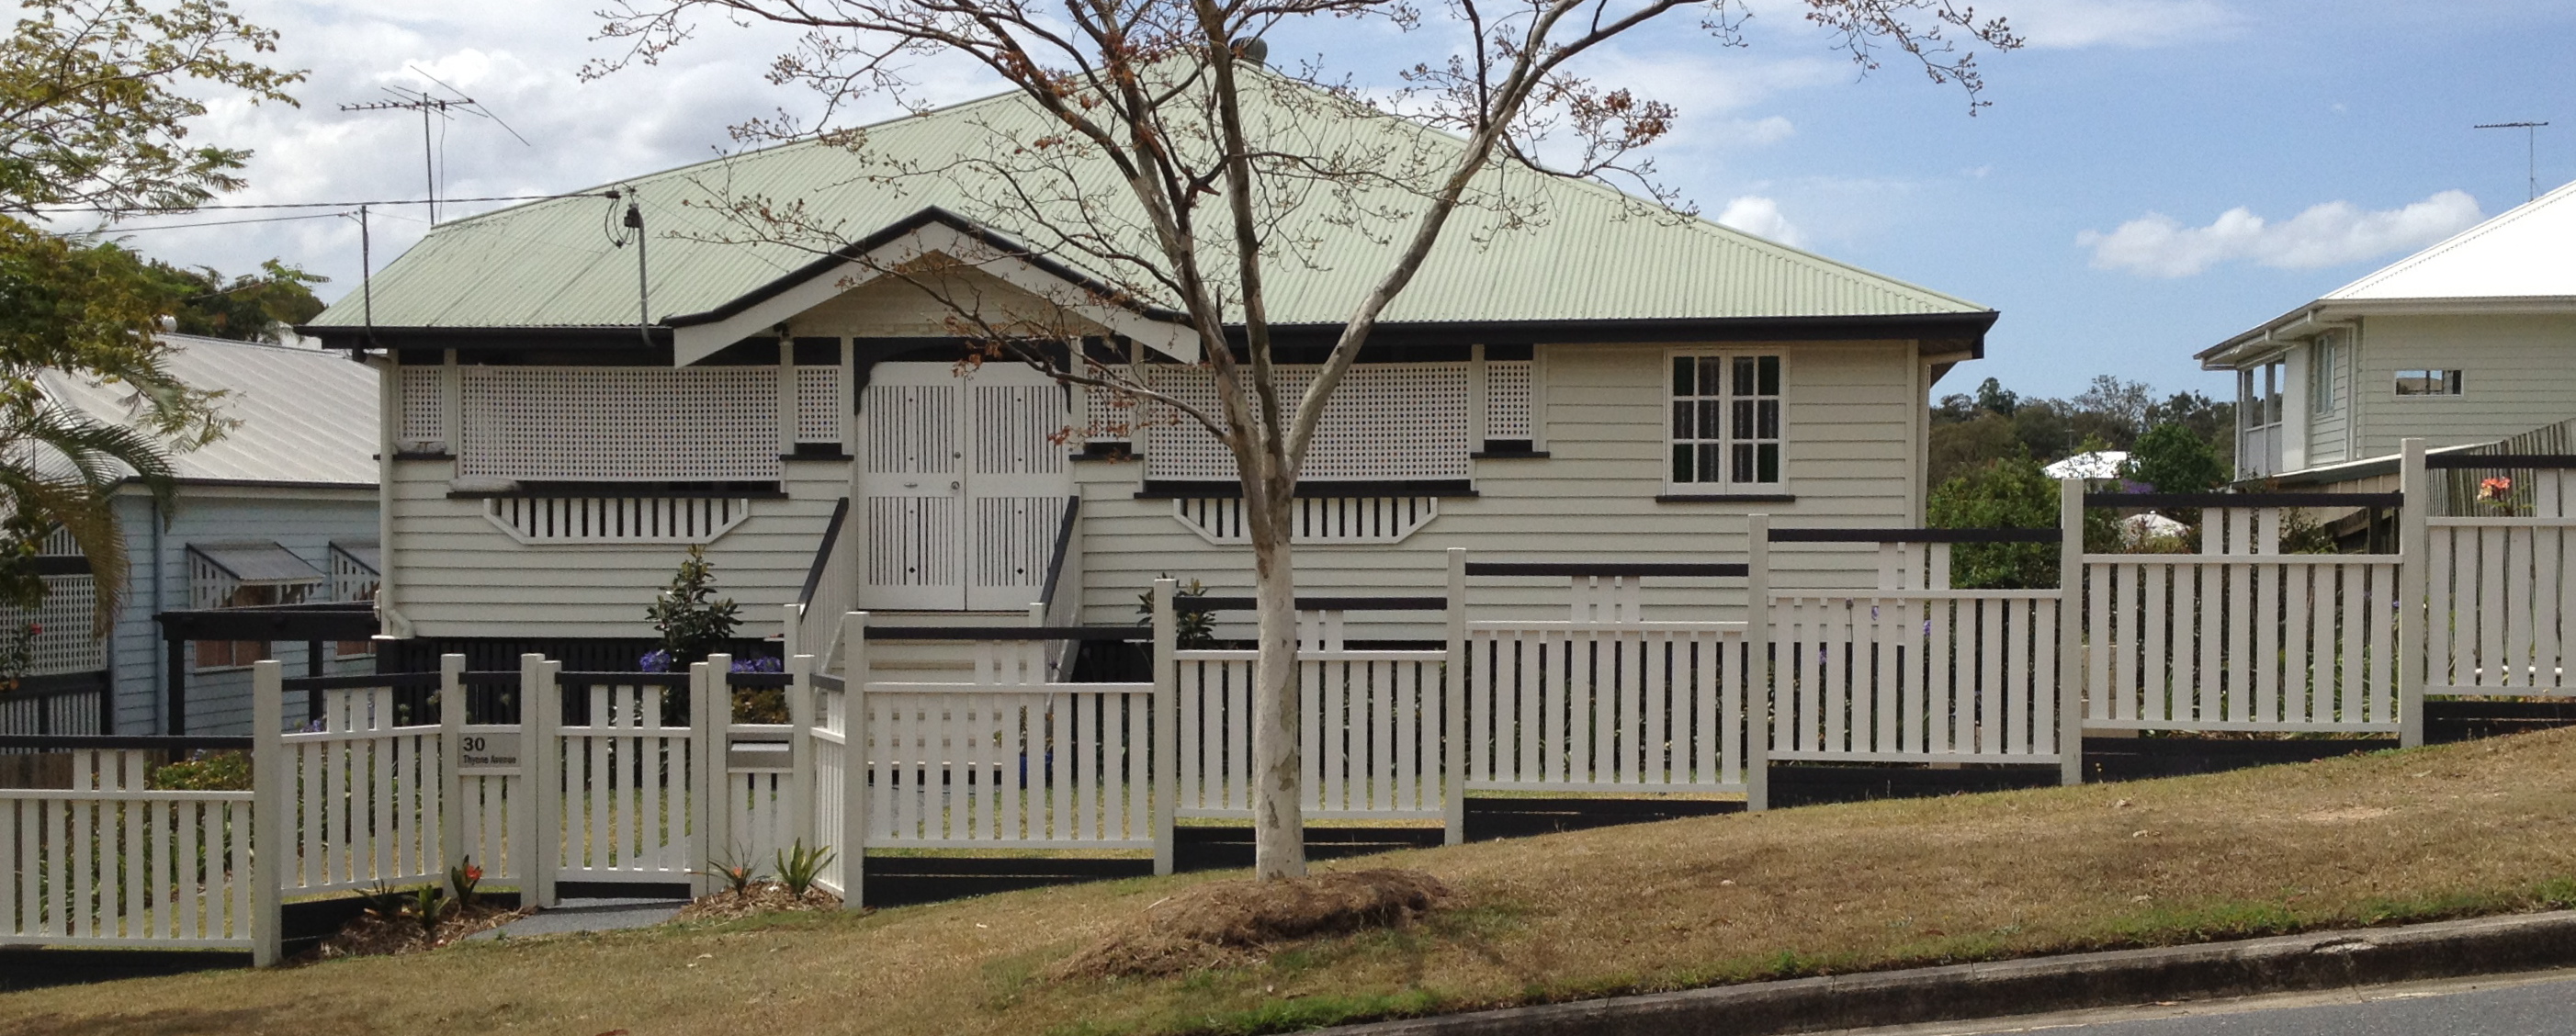
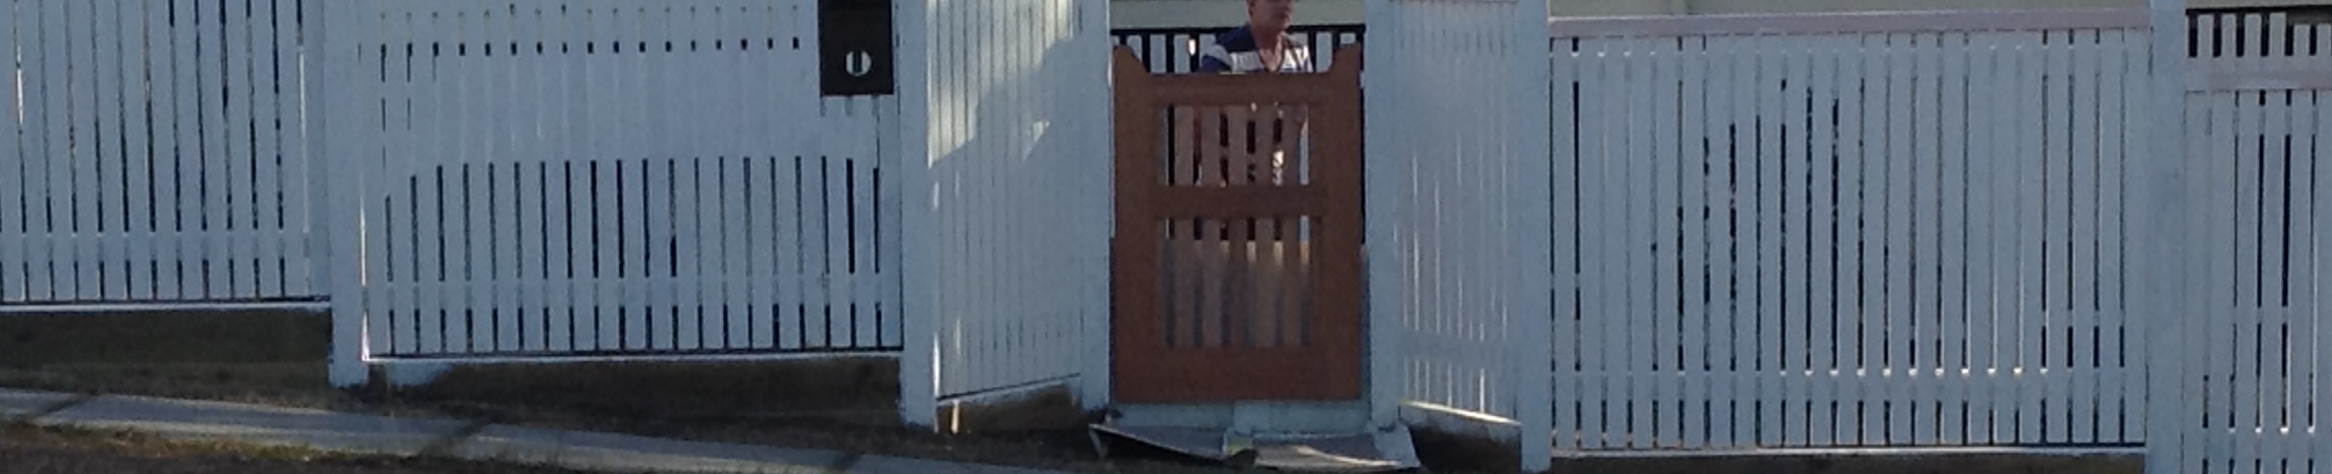
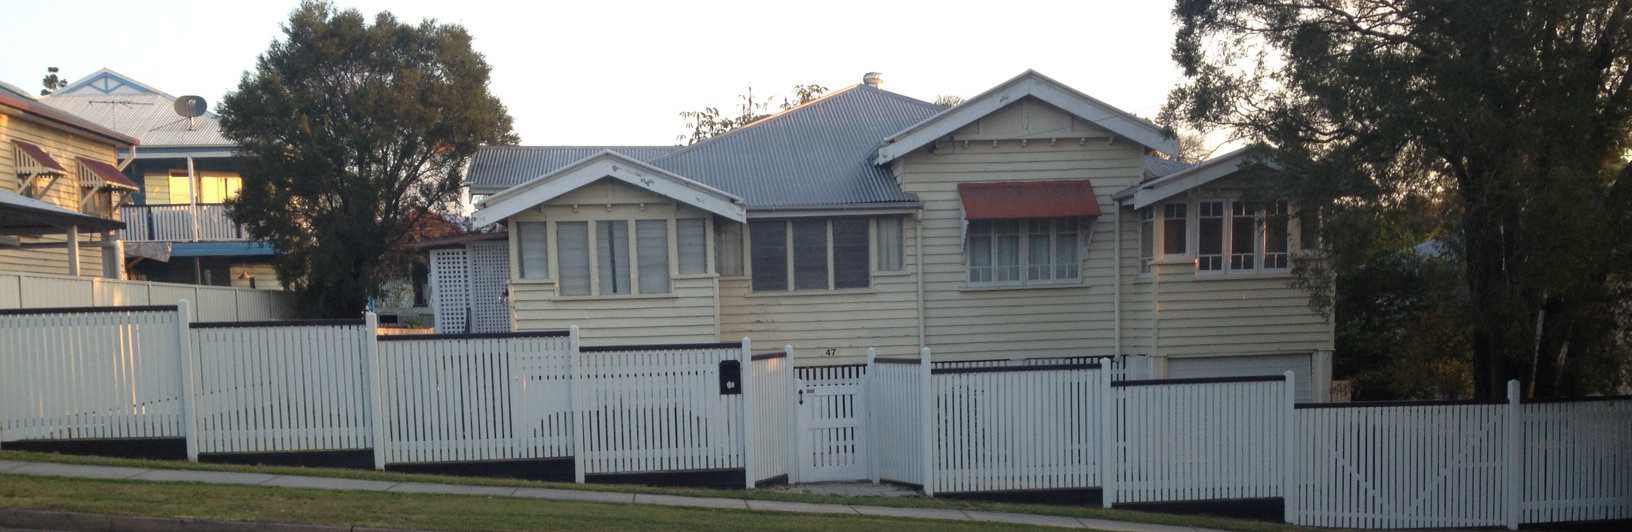
Things we probably CAN’T do right now: update the downstairs bathroom and laundry. That will be a job for another time, maybe in 5 years – they’ll do for now and there’s lots of storage in the ugly-but-serviceable laundry. There are a few other upgrades that may have to wait until the next round of funds (or big tax returns), which may or may not include ducted air upstairs, painting the exterior (we got quotes for this and wept), a built-in book case in my study and some other things. Other additions: lockable storage under the front of the house, which involves extending the batten design down to the ground and adding lockable gates at each end – a pretty simple job. Unfortunately chippies are in high demand and the cost of supplies is also high. The amazing builder who lives over the road could add the storage in a day (you should see how quickly he has constructed his garage!) but he’s way too busy for us as well. In the meantime, though, we ARE doing the back garden (won’t be impacted by the building works) and making the area more beautiful. The job starts hopefully this week. Given the rain and general crap weather though, they may start next week instead. Who knows?

Fingers crossed that by the time we approach our bank, cap in hand, we will be able to borrow lots more money to do the upgrades we need. There are lending caps, mostly to do with the value of the house and the borrowing ratio available to us, so it’s about getting maximum valuation for the home as it stands so that we don’t have to borrow more than 80% of the value of the house, thereby avoiding lender’s mortgage insurance (LMI). It’s NOT about our ability to repay, btw. That’s not an issue. Darn it.

We’re going grey!

…Not my hair, which has been going grey for years already, but on the house. I know, completely boring, amirite?! But in truth it looks so crisp against the greenery of our subtropical garden that I can’t really go past it. I’m very taken by this colour from the Dulux colour palette:

Or this one:

Or even Lexicon:

If I put Lexicon against Lexicon Quarter I get a really nice subtle difference but it might be too subtle in the bright sun:

So if I put Lexicon half against purple-based Pensive Quarter it looks lovely:

But I prefer it against the Highgate, which is a more subtle colour too – more true grey, which I like. I team it against a lovely bright navy trim for a bit of pop and a cheerful front door, and we’re set. I COULD go dark grey for the trim and that would be fine but it’s just a bit boring – we’re already grey enough! Passionate Blue is gorgeous and gives off just enough of those Greek colour vibes that I really like:

But this would also work well and sits more along the grey spectrum:

Blue trim is a difficult one to decide as it’s only a small pop of colour and can simultaneously look too dark or bright. Normally everything looks lighter outside and darker inside but with trim it can actually be the reverse, as there’s not enough colour to provide much detail. It also has to not clash with our walkway colour, which will be a dark grey.

Our front door has this crazy lilac glass inset that we may as well highlight because CUTE, but the colour changes dramatically depending on the light. I took these 3 images within 2 minutes of each other. the first is the interior view and the 2 following are exterior at different angles and light sources:

We could go a cute mint green, or lilac such as these pretty shades below:

Any of these would look fabulous against the grey siding, white timber trim and navy highlights. The painter I’m using (we’ve employed them before and they’re Dulux specialists and very good) has also recommended painting the window hoods silver, which would be good as they would then match the corrugated tin roof, and finally painting the front porch and gantry decking a neutral dark grey (we could replace the decking but it’s much cheaper to paint):

You can see that while a lovely combination, this blue would look too similar against the grey:

Here’s some houses taken from the web that I thought were lovely inspirations for our paint job:

You can see what a difference a well chosen coat of paint makes:

I really am going for the palest of pale greys though:

So there you have it: my colour ideas for our house! Hopefully this can be achieved this year!

WE’RE MOVING!

Finally I am delighted to announce that: yes, we’re moving! Our house sold well (considering the impact of COVID-19 on house prices in our area) and we’re moving to a new part of town for us, one that I suspect I may never leave!

Here’s our new home:

Cute, huh! BTW, this is a screen shot of the house that I took from the real estate web site we found it on. I cannot wait to change those colours to something a little less drab. The paint job is in very good condition though so it might stay for a couple of years.

Here’s the floorplan. On the left is the downstairs (in QLD houses are often built under, so living quarters and the kitchen are on the top floor), and the right is the main living area and bedrooms:

I know there are four bedrooms when there are only 2 of us. But I use my study every day, and hubby needs a study too. So we’re making the first 2 upstairs bedrooms our studies, and the fourth bedroom downstairs is definitely our dumping room for the time being as we sort through our outdoor stuff. In our old house we had a great breezeway under the house, all 140sqm of it, in which we stored all the gardening equipment and spare items. In this house we don’t have that so we are making plans for a garden shed and workshop, to sit at the bottom of the driveway. It’s currently a turn-out for the under-house parking but, you guessed it, we’re not parking under the house! (except perhaps during hailstorms…)

We’d like to renovate this house (well der!) and the section under the deck and master bedroom is perfect for a new rumpus room (hubby calls it the pool room but I think he means the room with the grand piano ;)). We’ll take apart the old deck eventually and put in a new kitchen and deck that extends to the end of the master bedroom, and underneath we’ll lay some new concrete and enclose the space. We’re on 810sqm of land which is great for this part of town, and I don’t want to impact on the generous yard with more house, so we’re keeping our ideas modest (and in truth we won’t be able to afford much more than what we’re planning). We’ll upgrade the bathrooms and give the master bedroom an ensuite and walk-in-robe, by moving the kitchen to the new construction, and making it a galley kitchen, as seen below:

Soz about my terrible drawing – I did it on my computer that doubles as a tablet and my drawing is super shaky. We’ll add a small family bathroom upstairs where the kitchen currently sits.

So I’m a little concerned about the generally poor placement of the laundry – at the moment the downstairs bathroom is connected to the bedroom and I don’t love this – if we want to add a family room area I don’t want to add yet another bathroom. I think what I’ll do over time is to reduce the size of the bathroom to make it a family bathroom (not an ensuite), and then put a door in the ensuing corridor to the outside. At the moment the laundry door faces the hall to the rumpus and I don’t love the position, and I think if we rethink the laundry layout then we might get better flow. I’m loving playing with these ideas – it will be two years before we can pay for most of the new stuff so we will live with what we have in the meantime, and just do small things. I think the current rumpus will make a great 5th bedroom if we decide to add a downstairs family room at the rear, which will add great resale value to the home.

Do you have some great ideas to make this house even more amazing? I’d love to hear.

In the meantime, here are some interior shots of before. That is: before we moved in! 🙂

Staying home with the Rona

The Rona has been playing havoc with our lives, at least for everyone who isn’t me. As a work from home self-employed academic and author, it makes little to no difference to my day, and it has been quite nice not to go out at night – and I usually have to force myself to go to the shops in normal climes. So here I am, trying to think of ways to keep busy now that my teaching has finished for the semester and I’m at home with the doggoes.

2018 and 19 was pretty good for us, renovation-wise. We installed a new front porch and gorgeous yellow door with pretty side lights, we installed an automatic garage door and gate, and did some painting on the exterior – just the face to the side fences. As you can see, Harry’s home looks so cute now! With all the original gables intact it looks a lot like a modern Hamptons-style house. It’s not: it’s a classic Ashgrovian Queenslander, built about 100 years ago, with the entryway originally at the side (still there). The gable on the right we estimate was added in the 50s, and thank goodness the gable design was continued because there are lots of similar extensions we’ve seen with a flat or gently sloping roof, and they don’t provide enough head height to be legal bedrooms.

The fence we installed 8 years ago is starting to lean and we’re thinking of replacing it with a more sturdy stone and aluminium style. The stone will sit along the base of the fence (in truth it will probably be bessa brick – cinderblock – with a stone face) and the aluminium pickets and posts will look pretty much like what’s already on the fence but without the need to paint it every three years. I really like the look of this new home and fence that is near our place:

Our entryway is sweet but it has a rather ugly concrete plinth that I’d like to cover in square grey cobblestones – we have lots of garden planning to do even though I said a few years ago the front is done. It is not, but we’re waiting either for fortunes to change or to finish our long-awaited extension.

Inside we’ve done a lot of work, although it doesn’t really seem like much now that 2 years has passed. We installed an upstairs laundry – given our laundry was under the house, all dusty and horrible, this has been an absolute blessing. Hubby has taken over the washing, I think because he just enjoys doing it so much that it’s all mostly dirt free! I added a touch of colourful tile bling for fun, and I feel like this can do double duty as a drinks section. It’s an open laundry that leads to the bathroom and 4th bedroom, so I wanted it to look swanky. And yes, it always looks this clean as there are only 2 of us. 😉

We switched around the bathroom and a bedroom, and we now have a fully working 4-bedroom, 2-bathroom home. Our family bathroom – in a country Art Deco style – is the cutest thing ever (I swear I had better staged photos than these):

This bathroom is lovely and light filled (not that my phone can cope with all the light – it tends to underexpose the natural light in this room!). There are a couple of things I would have changed if the products had been available: I would have put in a different vanity, and stained the shelves a lighter colour. The vanity I bought was the only one at the time available with a wooden top, and I’m not in love with the heaviness of it. Last year, long after we had installed this piece, I found a different supplier of vanities that had a brand that would have looked much nicer, but I don’t care enough to swap it out (plus, it’s expensive to do this and those tiles are in short supply!).

The last room to be completed was the small guest bedroom (it easily fits a double bed but not much storage) and I swear I’ll hang the last painting over the bed very soon:

Unfortunately this room gets SUPER hot in summer. I’m not quite ready to install the side shades due to the wishing and hoping renovations, as I want a striped navy/white electric retractable awning series covering all windows on the western side, and this area is not yet at the Definitely Done stage to do that.

In all the other spaces we’ve just been painting or finishing off some long overdue maintenance:

My study desk is not affixed to anything, so that we can repurpose the room into a bedroom down the track for selling purposes. It’s not ideal as the desk is a little too high: it rests on the bookcases which sit just above the ideal height for a short-legged-person’s desk. And with all of those screens (yes, I use them ALL) I can’t get a standing desk just yet. Another thing that needs some work.

In the new entryway we swapped out a cute vintage 30s yellow glass shade for a bright white 20s vintage shade: it works better with all the bright white and colours, and that sweet abstract painting and the chair are now in my home office – I’ve put plants where the chair used to be. I have a thing for aqua and teal right now, and my study is a riot of blues and whites and wood. I dare not show you the “storage” area behind the photo as it’s a bit of a disaster! There are 2 bookcases and a cello and a covered keyboard and lots of books and supplies for work; they all need proper storage. I have dreams of building in a decent storage and shelving unit but we keep putting it off, due to the aforementioned wishing and hoping renovations.

The spare bedroom has of March this year become quite an important study for hubby – he, like most of the world, has had to work from home. Luckily, his industry enabled him to do that (we’re both academics). I’ve based the styling around the Gillie and Mark painting we bought a few years ago – these colours are very “in” right now, and they’re nice and masculine, perfect for hubby’s home office.

That rather scrummy leather chair from West Elm was never intended to be sat in 8 hours a day! It’s not very comfortable for long haul work weeks, but it looks good!

The master suite looks the same as it ever did: the ceiling needs a paint but other than that there’s not much to report, except I’ve gone mad for deep blues and soft greens in this room: warm dark blues in winter, and their lighter companions in summer. I’m not yet ready to abandon these colours and I’m not overly fond of the new terracottas and pinks and peaches that have flooded my instagram of late: when you live in terrible heat and humidity 80% of the year, you need some cooling vibes to bathe in at night!

The lounge room has had a bit of a makeover – we bought some vintage mid century chairs in a bright orange and they just look fabulous. Our red room is now a jewel of rich colours:

We’ve changed out the gorgeous Nellie Marks painting over the couch for a commissioned Bromley: Nellie has taken pride of place in the entry, except of course now I have to rethink the rug colour: SIGH.

And our kitchen is the same as it ever was: people seem to like its slightly industrial Melbourne vibe but I’m just getting really annoyed with it now: the oven cavity traps the heat, there’s no extractor fan so all the open shelves and their contents get greasy, there’s no natural light and it’s a tiny, tiny space to try and work in. But we recently replaced the old ceiling light with these new industrial/country lamps and it all seems to work really well! You can see how much stuff we have to store on the shelves: there’s no storage in this house!

As you can see from the photos: I’m no minimalist. I wish I knew how to pare my world back just a bit, but every time I do, my eye gets distressed and I have to decorate more richly than my hubby or even I would prefer. The worst part of being a maximalist is the dusting, of course….;)

So why has it taken me two years to post? Well, I’d begun a heap of posts, but somehow I just got sidetracked with work. I’ve taken lots of photos of the renovations as they happened but once they’re finished it’s a bit of a chore to upload “in the moment” shots long after the fact. Also, I’m writing this on my computer rather than my phone, for what I hope are obvious reasons, and I’d forgotten my log in and password, and then I have to SEND my phone photos to myself and… and… and… you get the drift. Also at about the same time I discovered Instagram. And suddenly the blog seemed all a bit too hard.

But I’ve done myself a solid, found my password and username, and here I am. Because, in truth, I really want one of two things: either we sell Harry’s Money Pit and move to a house that’s already completed, one that’s a bit better organised, with 4 bedrooms, 2 baths, a workshop, a landscaped garden and pool, or we try and complete the renovations here. I’ve already talked about how I’d like a new family room and kitchen and back deck, but in order to make this house a viable selling proposition down the track, I need to think about adding a bedroom, rumpus, bathroom and workshop downstairs, to make this house a truly 5-bedroom home. And even though it’s June here right now and nice and cool, I really would love a lap pool for when it gets hot here, which is September to April. It might just be better to sell and buy fresh. We have a healthy savings balance now, and the bank would probably lend us quite a bit of money, but I can’t imagine how much all of that would cost, and I’m scared to ask!

So now that I’ve no more excuses, I’ll be posting more regularly in the blog, so that you can see my world and how we live in it, and I’ll update you on my house plans as they happen.

Cheerio!

Arty, crafty, glassy.

There be photos of the new shower screen. Never knew you have to wait 3 days before touching or bumping it. Apparently it could explode. I ask, what takes 3 days to cure that a piece of glass might explode if you touch it?

IMG_2921


Not hugely in love with the piece of aluminium on the floor but I wasn’t actually given any choice. I love how builders make design choices for you (not). Anyway, it’s pretty unobtrusive and given that I hate water flowing throughout the bathroom from shower run-off I’m happy to see it there. My folks did a similar thing with a rounded piece of aluminium in their bathroom but it wasn’t high enough and water still flows over it. The only other alternative would have been to put a drain at the entrance but I hate the long ones – they’re swimming pools for cockroaches in our house.

I love the big, clear screen and that you can still see through to the picture window. It feels as if there is no glass at all! And the bathroom still feels spacious and well designed. So happy.

On Monday the boys come back to do the last of the work – the final siliconing of the glass, some extra electrical stuff, a louvre window, some tiling, and finally the silicone for the bathroom. Am I impatient to start using our bathroom? Not really. We’ve lived with the crappy bathroom for so long that a month seems short.

Of course, now I’m seriously regretting not having tackled the trim and door painting before the lads arrive. I might have a go with the oil paint tomorrow, just to get started.

In the meantime, DH bought a new Makita petrol line trimmer with a Bunnings gift voucher and I bought some herbs again. I love home grown herbs but I’m terrible at keeping the water up to them, and in Queensland summer sun you need to water every day – yes – even woody herbs such as Rosemary.

I’ve repurposed an old wire flower shelf back to its original use. I WAS going to de-rust and paint the thing but I couldn’t be fagged. I potted all the herbs, watered them and arranged them on the shelf and now I’ve created an artful Instagram picture (which I don’t use because Instagram).

IMG_2926_2

I’m pretty happy with the composition of this picture, actually. And yes, it has been edited a bit using Snapseed- our paintwork isn’t quite as bad as this!

Now DH is hard at work learning how to use a petrol line trimmer. There may be teething problems.

You know you’re living in an old unrenovated Queenslander when…

1/ It’s the Queensland equivalent of winter and it’s colder inside the house than out.

2/ All the windows are closed and there is still an arctic blast coming from all the gaps in the floorboards and window frames.

3/ In winter you can dry your clothes and they still get mildewy from the cold humidity.

4/ There is no ceiling, wall or floor insulation. This is supposed to be a GOOD thing?

5/ At least the water coming out of the cold water tap is cold in winter, not warm.

6/ The lawn doesn’t need mowing because winter equals no rain.

7/ The old louvre windows rattle in the wind.

8/ You don’t own a heater and you forget the air-conditioner also has a heating element.

9/ The warmest room in the house in winter is also the hottest room in summer.

10/ Your DH (who grew up in QLD) mutters something like “I didn’t sign up for this” while he’s dressing in an unusual 3 layers of clothing.


It’s been a while since my last blog post because nothing has been happening here in Harry’s place/renovation land. The architect has finished all his plans, I’ve signed off on them, as has the engineer, the compliance guy and the soil guy. Essentially we’ve paid $15,000 just to get the finished plans into Brisbane council. And we still haven’t got costings on the renovation yet. But I spoke to my builder and he’ll have some in by the end of next week. I’m assuming the total cost of the first set of renovations to be about $90,000. At least, that’s what I’m thinking by the time we replace doors and windows in the main house and add the extra room. I’m not quite sure where this money will come from given we have just finished a massively expensive trip to Europe and the next set of hideous bills have just come pouring in, including school fees. Gah.


The architect is coming! The architect is coming!

This is it. Today is the day when I get to see all the plans finally laid out on paper. I’ll let you know how I get on.

When I spoke to my mum who’s a long-time renovator and savvy house planner we agreed the costs will be about 30% over what the bank has lent us to do minor renovations. To build the studio and renovate the front of the house, I think will cost about $120,000. She agrees. We were only extended about $80,000, which has to include architect’s fees. I can probably scrape together some more money but it’s fighting for supremacy with overseas travel plans, one remaining credit card bill (DH loves me but forgets that I have to pay the bill from his gifts to me) and the last remaining school fee mega hit (huzzah, and fees are halved after July).

So near and yet, so far. I guess the alternative would be to do the West Wing first, plus update the house front (giving us our 4 bedrooms and 2 bathrooms), then go to the bank and ask for more to complete the remainder.

This is probably the BEST and most cost-effective solution but it still doesn’t get us the extra studio space. Yet. However, when I did some sums on what we could feasibly borrow if our house was worth $900,000, we would have nearly enough for the whole remaining shebang. It depends, of course, on the builder’s costings. Our guy is not cheap, but he is thorough, and as far as I know provides an accurate cost appraisal. And if we don’t change too many things on the run our costs should remain consistent. Problem is, as soon as you add 10% overruns, 10% GST, architect and contractor’s fees, plus council fees, it cuts everything up. So the initial $80,000 becomes about $55,000. Not a lot of money left for building stuff.

But it MIGHT be enough to fix up the West Wing, do the electrics and plumbing, add 2 new bathrooms and renovate the facade, buy a new stove and fridge, plus change a wall in the main house and add built in bookcases. Ah, compromises. At least we still have walls and a mostly working roof.

(Small Edit: I’ve not put a careful figure on our renovations but I believe it’s in the vicinity of about $3000 per square metre. I think this is too much, and when I put $2000 per square metre against the renovations it all becomes much more reasonable, also given that our house is a simple wooden cottage it’s not too expensive to change it.)

renovation compromise


We’re renovating!!!

My designer reported last week that a “pool” house at the bottom of the garden was not possible given the stupid amounts of fees that would be required to relax easement coverage. While we were all disappointed, she visited today and came up with something even better: we’re going under!!

Our house sits on a sloping block and the bottom section of the house (the garage) is legal height. The builder has a brother who owns an earth moving business – it seems we will be able to excavate under the house another three metres or so and put in a double garage, bedroom, bathroom and laundry, linked by a staircase in the little anteroom off the kitchen. The earth moving won’t have to go in more than 3m x 10m by about .6 metres deep, so it’s totally doable, once we replace the posts with a steel H beam. Huzzah!!!!! This is what I had ALWAYS wanted to do, but I thought it would cost more than the figures being bandied about at present. This is due to the great floods of water running through the house, which will require rather a lot of hard landscaping work. I think we will end up with a cost of about $120,000 for all the plans we have but we can cover that with all sorts of spare credit cards if need be. Our bills aren’t going up and DH’s income is set to rise in the next 12 months or so. With any luck so will mine! We won’t be able to build all the lovely jubbly cabinetry I want for a little while, I imagine. But once we’ve got the changes to the house done and informed the bank of the upgrades, we should get some more money to finish the remainder, as presumably the house will go up in value.

Not only that, the designer recommended we build a studio with a skillion roof off the eastern side at the front of the block, where the current skillion entryway is now. If we offset it and don’t go to the boundary – in other words following all regulations – we can fit a 3.5 metre x 6m addition alongside the current house – perfect for the studio and away from the main house, with an entryway at the front. We place lovely new (but old style) stairs to the front of the house, thus giving us a proper four bedroom house with a front verandah, separate studio entry and double garage. I cannot tell you how excited we are. Very excited. OMGOMGOMG. AAARRRRGGGHH!!!!

And now I want to draw it.


Faffing about fences

About 18 months ago, my beloved 14 year old beast of a Beagle, Boots, died when he escaped onto our busy road. He was an escapologist, as are all beagles, with no road sense. It was bound to be bad. Anyway, he was going to die either by car or by slow, lingering death of old age. I buried him in the back yard.

After an approved period of mourning – about 6 months, I decided it was time to think about welcoming another fur baby into the house. We did our homework and in January of this year welcomed Poppy into our lives. Poppy is a Groodle. That is, she is a Golden Retriever/Poodle Cross. She is black.

IMG_2404

I’m madly in love with Poppy, and she loves me. It’s magic. Anyway, the reason Boots our beagle had died was some idiot left the gate open and he escaped. I was determined not to let that happen again. So we planned and built several new fences in preparation for Poppy. She’s a very expensive dog. Our fence building project was finished in February this year, although painting continues.

Our builder was Chris Biancotti, and while he wasn’t hugely cheap, he was very patient with the crazy lady who kept changing her mind and he did a wonderful job. I had seen a fence he constructed just down the road and I admired his handiwork.

We started our fence adventure one day when we idly decided to remove the chain mail fence from the front yard. It immediately looked a lot better. But then we were left with some unsightly, ugly trees and bushes that were not doing all that well. We got the tree loppers in and they pulled out the lot, including one Ivory Curl tree that was really very pretty and doing a good job of protecting the eastern side of the verandah from radiant light from the ugly white Colorbond fence. I was not amused. And my neighbour on the other side, Christine, I think was secretly rather appalled that we had torn down all the lovely trees in the yard. Never mind that the trees were nearly all weeds or serious pests!

IMG_0101It’s a desolate wasteland where beautiful greenery used to be!

IMG_1663

Then Chris began constructing the fences. We started with the side fence at the rear of the house. 20 metres of 6 foot high timber fence, and our neighbour was relatively happy with the result, tearing down all the ‘not quite working’ trellis from his yard and planning his back corner at last. It wasn’t too expensive, and we came to a good agreement about how the fence was to be constructed, and with what materials. Mind you, I had done my due diligence and we went for a cheap timber fence, and while our neighbour wasn’t too thrilled with the cost, I had done three quotes, and I was happy with the price. He was happy to pay the lowest of the three quotes: fine by me!

IMG_1577

Then Chris got onto the side fences. I asked for and got gates that would always close, but the silly tree loppers (who came back) then wedged the gate open so wide that the spring Chris had installed to the gates loosened off. Chris also repaired the other neighbour’s side fence as there was a rather dangerous lean to it – not surprising, as there is so much water flowing through the back yard that it just rots the wood. Oh well. Reminder to repair them again in 10 years time, but this time with steel posts, not timber.

IMG_1575IMG_1567IMG_1584

Finally, Chris constructed the front fence. We spent many happy hours driving around neighborhoods taking pictures of fences. Here are some that appealed. Our house is on a busy road and I wanted airy privacy for the front yard, yet a look that ensured a welcoming entry for visitors. Being a 1920s construction, our house needed something that had a similar but simple style, in keeping with the house’s simple bones. These are the fences I looked to for inspiration.

IMG_1435IMG_1449IMG_1473IMG_1480IMG_1550IMG_1440

This last fence was extremely beautiful and we coveted it mightily, but when our builder popped round to have a chat to the owner about the cost, it was more than double our budget. Chris came up with a great solution. We decided to have a tiered fence, with sleepers at the bottom because it looks so sharp and neat. We finished off the sections with a simple bread loaf rail and posts that Chris honed to a simple point. Because of the 6 foot height of our fence we needed two rails, hence our preferred fence (see above) wasn’t doable for us as there are no rails behind the palings and the height of the fence is only about 1 metre.

IMG_1674IMG_1698

We created a slight angled inset at the gate to provide a more welcoming entry point, given that our street is busy and tall, straight fences can look awfully forbidding:

IMG_1697

We had some difficulty over the gate. Originally we ordered a gate from Woodworkers in Moorooka that was wider than this opening, but that was before we cleared up a minor misunderstanding about the inset sections. And we couldn’t decide whether to have a higher or lower gate. We chose the latter, mainly to increase that welcoming feeling I was talking about:

IMG_0193

From a distance it initially looked too low and a little narrow, and we were very disappointed:

IMG_0199

But over time and with a lick of undercoat the gate has blended into the fence line. We had two gates: one was for the garage section. Chris constructed a steel frame and attached a spring wheel to the base, to give it purchase when open:

IMG_0142

In a few years when we replace the garage door, we’ll make this gate automatic. Not right now, though, because that would mean rewiring the whole house. And goodness knows how much THAT will cost!

Finally, we had to choose the letterbox. We looked at various option including this ornate one:

IMG_1438But we finally chose this simple, stylish black mail box, from a locally owned store literally down the road:

IMG_1439

The first topcoat of the front fence is finished and it already looks a treat, but silly me thought that painting faux oil paint just before the dew point at dusk was a good idea, and the bloody paint dripped. It’s only the first top coat, though. Phew. I can sand and do another coat. We applied 2 coats of Dulux all-in-one oil primer/undercoat, then for the top coat we used Haymes paints in Dulux colours. We have to get more paint, but there’s LOTS more to do before the second top coat goes on.

And as I said to hubby just recently, the lovely lovely new fence looks like fresh bunting on a tired old used car saleyard, but once we paint the house exterior it will look wonderful! For the palings we chose the shade Surf Mist by Colorbond on the advice of our builder Chris, as our gutters are that colour, as is the Colorbond fence at the left. Surf Mist isn’t completely white, but is still bright and clean and hides road dust well. For the top rail and bottom sleepers we chose Wayward Grey by Dulux, because it’s sometimes black, sometimes grey, sometimes a little bit brown or purple or even burgundy. A great colour. We’ve not yet decided on the post colours, but we want a fawn/grey colour to give a bit more sophistication to the fence. In the meantime, though, they’ve been painted Surf Mist too.

I’m super happy with how the fence turned out, and very happy with our builder, Chris Biancotti.

I guess this means the house palings will be Surf Mist and the house trim Wayward Grey. Not sure about the windows at the moment though.

IMG_0394

IMG_0411IMG_0410

Once the second coat has been finished, we can plan and commence our front yard planting. I’m thinking a white or pink Frangipani should go in this corner, and the whole front to be lined either with golden cane palms, Giant Strelitzia or mock orange hedging bushes to provide a sound and sight barrier to the street. Then we’ll plan the remaining garden bed with some ginger and bromeliads, a little bit like this garden bed we saw at Buderim Ginger factory but without the monstera plants, which grow out of control in home gardens:

IMG_1748

But wait, I nearly forgot to show you the back fence! Our lovely neighbour, who I will call Sheila, has been renovating her house. She informed us she was taking down the lovely but dilapidated timber fence at the rear and building a retaining wall out of bessa brick (cinder blocks), against which her pool would sit. Well. I didn’t mind, but when I saw the height of the fence, I gulped:

IMG_2162

It’s about 1.8 metres high at one end, and at least 3.5 metres high at the other. I felt rather hemmed in at first, but Sheila kindly had the wall rendered and in a few months we’ll paint it a deep purply/black colour prior to planting out with tropical hedging plants such as Golden Cane and other palms. She also asked if she could remove the last remaining (ugly and stupid) tree – a pinus radiata – from our back fence line, because its needles would fall in her pool. No wokkas, quoth I, please, take the thing. She removed it.

Now our yard looks like this:

IMG_0407

It’s desolate and sad, and nothing like how it used to look:

IMG_0852

We still have problems with Chinese Elm popping up everywhere, but eventually it will give up and go away as long as we keep poisoning it!. Then, after all the renovations have been completed we will plan our lovely, tropical-style easy-care garden.